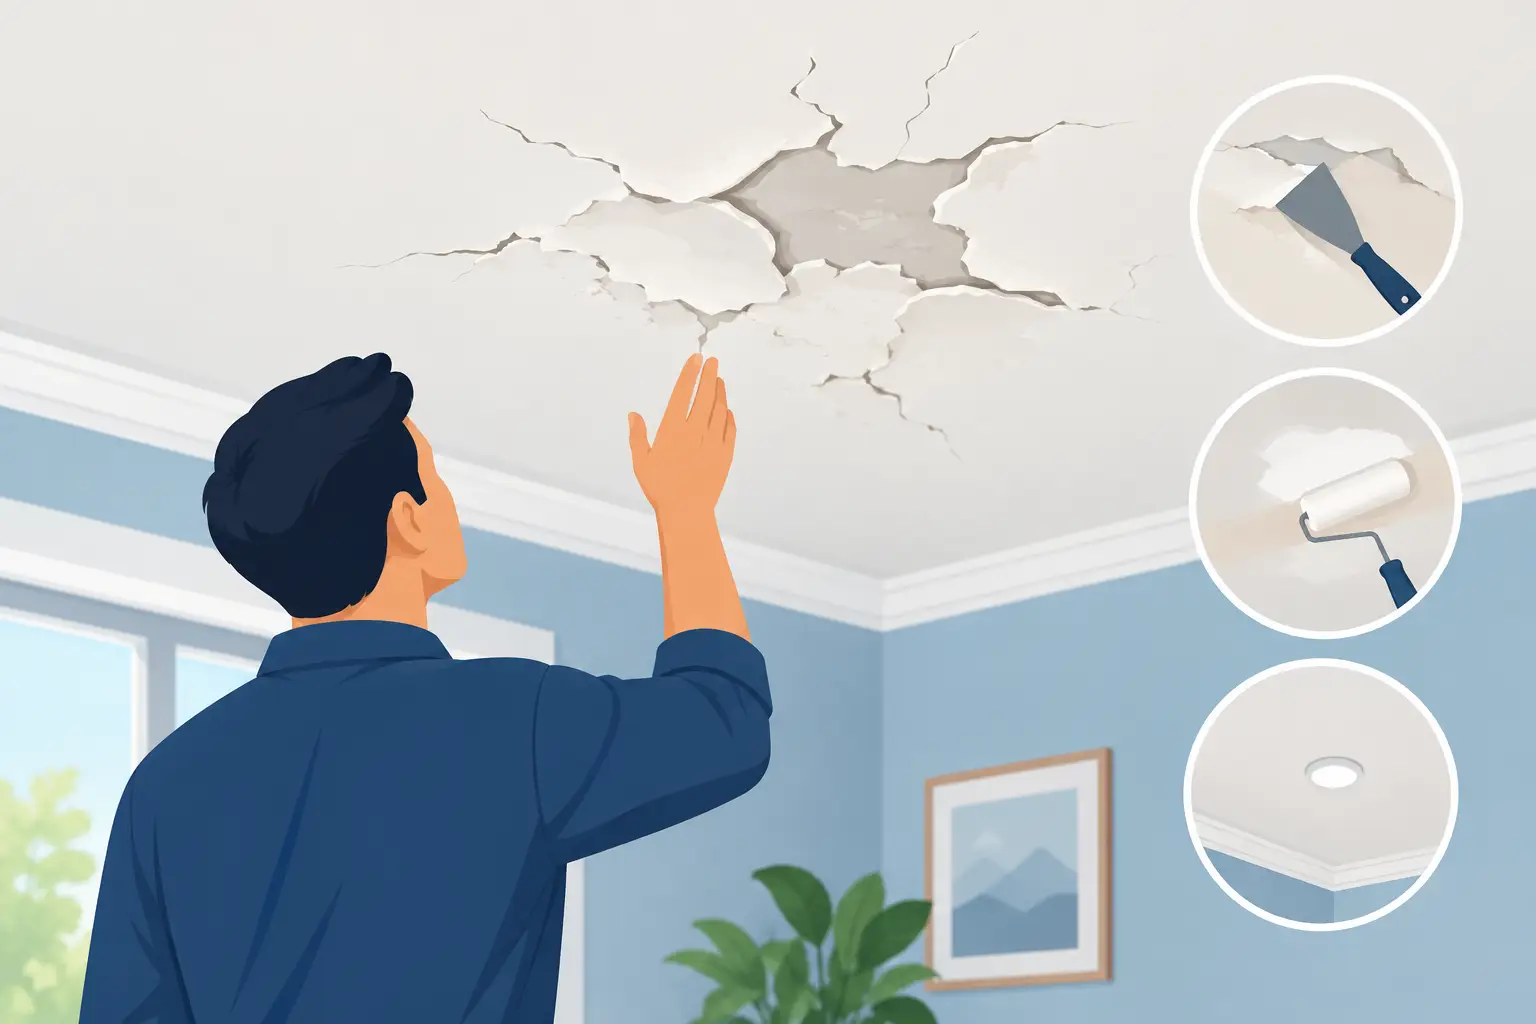

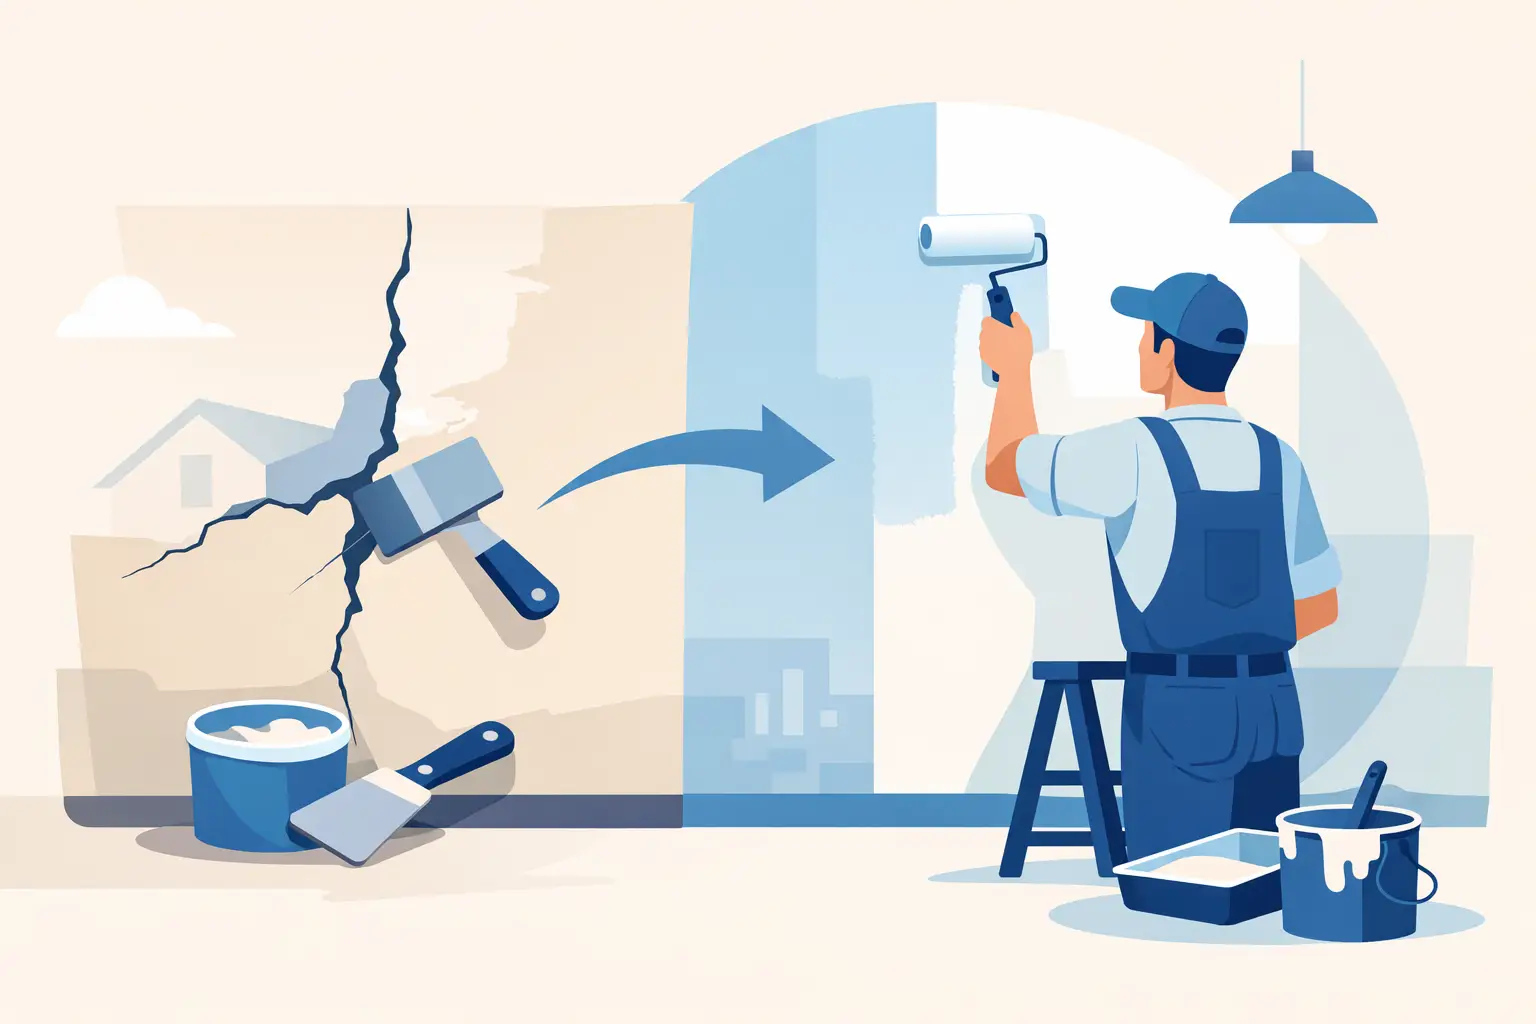
A fresh coat of paint can make a room feel completely renewed, but it will not solve a crack that has not been properly repaired. Effective wall crack repair painting starts below the paint surface: identifying why the crack appeared, preparing it correctly, and selecting materials that will hold up after the room is back in use.
For homes, apartments, and commercial spaces, the difference is easy to see. A rushed repair can leave a visible line, raised patch, or crack that returns within months. Careful preparation creates the smooth, even finish that makes a painted wall look genuinely complete.
Not Every Wall Crack Is the Same
Fine hairline cracks are common around plasterboard joints, door frames, windows, and ceiling corners. They often develop as a building settles, temperatures change, or materials expand and contract. In many cases, these are cosmetic issues that can be repaired as part of a painting project.
Cracks that are wider, deep, repeated in the same location, or accompanied by sticking doors, uneven floors, or moisture marks deserve closer attention. A crack that continues through brickwork or appears after water damage may point to movement or an underlying maintenance issue that painting alone cannot address.
This distinction matters. Filling a small settlement crack is straightforward when the surface is dry and stable. Covering an active crack without addressing movement, moisture, or damage underneath can lead to an early failure and a disappointing finish.
In coastal areas, humidity and salt-laden air can add another consideration, particularly on exterior walls. Materials need adequate drying time, and any signs of water ingress should be resolved before repair and repainting begin.
How Professional Wall Crack Repair Painting Works
A durable repair is a sequence, not a single product. The preparation stage takes time because it determines whether the painted result stays smooth under changing light and everyday wear.
Inspect the wall and protect the space
Before repairs begin, the wall should be assessed for loose paint, dampness, stains, and the likely cause of cracking. Furniture, floors, fixtures, and nearby surfaces are protected before sanding or filling starts. This is especially valuable in furnished homes and occupied commercial spaces, where a clean work area matters as much as the final appearance.
The crack is then opened slightly where needed and loose material is removed. This may sound counterintuitive, but applying filler over unstable edges only hides the problem temporarily. A clean, sound surface gives the repair material something reliable to bond to.
Reinforce joints and wider cracks where needed
Very fine cracks may only require a quality flexible filler. Cracks along drywall or plasterboard joints, or wider cracks with a risk of reopening, can require joint compound and reinforcing tape. The tape bridges the vulnerable area and helps spread minor movement across a broader surface rather than allowing it to show through one narrow line.
The right approach depends on the wall construction and the crack itself. Overbuilding a tiny hairline crack can create an unnecessary raised patch. Under-repairing a failed joint often means the crack returns. Skilled preparation is about matching the repair to the condition, not applying the same treatment everywhere.
Build, dry, and sand the repair
Filler is usually applied in thin layers, allowing each layer to dry properly before the next is added. Deep repairs cannot be rushed. Thick applications may shrink, crack, or remain soft below the surface, which affects both sanding and paint adhesion.
Once dry, the repaired section is sanded until it blends into the surrounding wall. This is where craftsmanship is most visible. A patch may feel smooth by hand but still show under sunlight, downlights, or a satin paint finish. Careful sanding and feathering reduce that risk, creating a level transition from repaired wall to original surface.
Dust is then removed thoroughly. Paint applied over sanding dust can look rough and may not bond as intended.
Prime before painting
Priming is often the step that separates a short-term cover-up from a consistent finish. Fresh filler is more porous than painted wall surfaces, so it can absorb paint differently and leave dull, uneven areas known as flashing.
A suitable primer or sealer creates an even base for the finish coats. It can also help isolate old stains, provided the underlying cause of the stain has been corrected. For example, a water mark should never simply be sealed and painted until the leak or moisture source has been resolved.
Apply the right finish with consistent coverage
The final paint should suit the room, surface, and expected use. Flat and matte paints are effective for disguising minor surface variation on walls, while washable low-sheen or satin finishes can be practical in hallways, kitchens, and busy commercial areas. The trade-off is that higher-sheen paints reflect more light and can reveal imperfect repairs more easily.
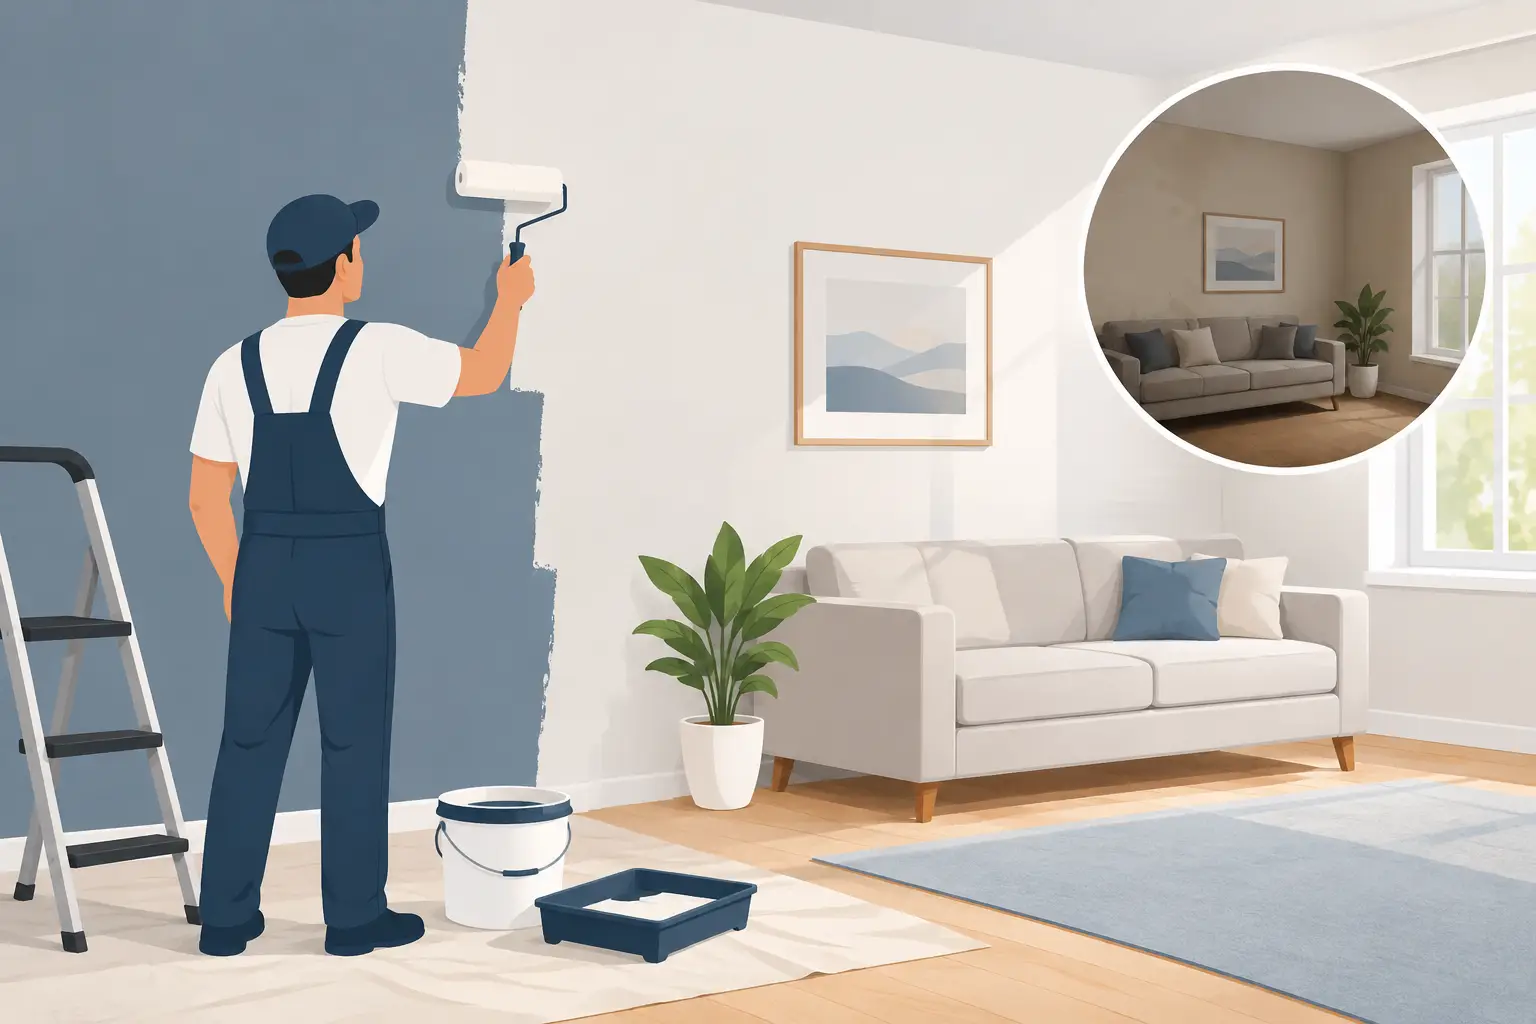
For the most uniform result, it is often better to paint the full wall from corner to corner rather than touch up only the repaired patch. Even when the original paint color is known, older paint can fade or change over time. A full-wall repaint avoids a noticeably different section in the middle of an otherwise finished space.
Signs a Crack Should Be Investigated First
Painting is the final stage of a repair, not a substitute for building or waterproofing work. Professional advice should be sought before painting if a crack is growing, wider than about 1/8 inch, runs diagonally from a window or door corner, or appears alongside moisture, mold, or crumbling material.
The same applies when several cracks appear suddenly, when a ceiling is sagging, or when an exterior crack exposes gaps in render or masonry. These conditions do not automatically mean there is a serious structural concern, but they should be assessed rather than concealed.
For strata apartments, it is also worth confirming whether the issue relates to common property, an external wall, or a possible plumbing concern before arranging cosmetic work. Clear communication early can prevent duplicated repairs and unnecessary disruption.
Why Paint-Only Repairs Often Fail
The most common issue is applying paint directly over a crack. Paint film has limited flexibility and cannot bridge a moving gap for long. Another frequent problem is using filler without removing loose edges, which leaves an unstable repair beneath an otherwise attractive finish.
Skipping primer can create a patch that looks different after the paint dries, especially in rooms with strong natural light. Rushing drying times, sanding too aggressively, or choosing the wrong finish can also make a repair stand out.
There is a cost trade-off here. A quick touch-up may be suitable for a very minor crack before a rental inspection or short-term refresh. For an owner-occupied home, a premium apartment, or a customer-facing business, thorough surface preparation is usually the better investment because the finish stays presentable for longer.
Planning Repairs Around a Repaint
Wall repairs are most efficient when included in a wider interior painting project. Addressing dents, nail holes, old picture hooks, peeling areas, and cracks at the same time creates a consistent surface from room to room. It also allows the painter to protect the space once, manage dust carefully, and apply a coordinated finish.
Before work starts, agree on which cracks will be repaired, whether full walls or only selected areas will be painted, and what level of finish is expected. A clear quote should account for surface preparation rather than treating it as an afterthought. This helps avoid surprises once old paint is sanded back and the wall condition becomes more visible.
Sharp Painting Services approaches repairs with the same care given to the final coat: protect the property, prepare every surface properly, use quality materials, and leave the space clean at handover. The goal is not simply to make a crack less noticeable. It is to restore the wall so the new paint can do its job well.
A repaired wall should disappear into the room, not announce where the work was done. When cracks are assessed early and repaired with patience, the result is a cleaner surface, more even paintwork, and a finish that continues to look considered long after the brushes are packed away.