

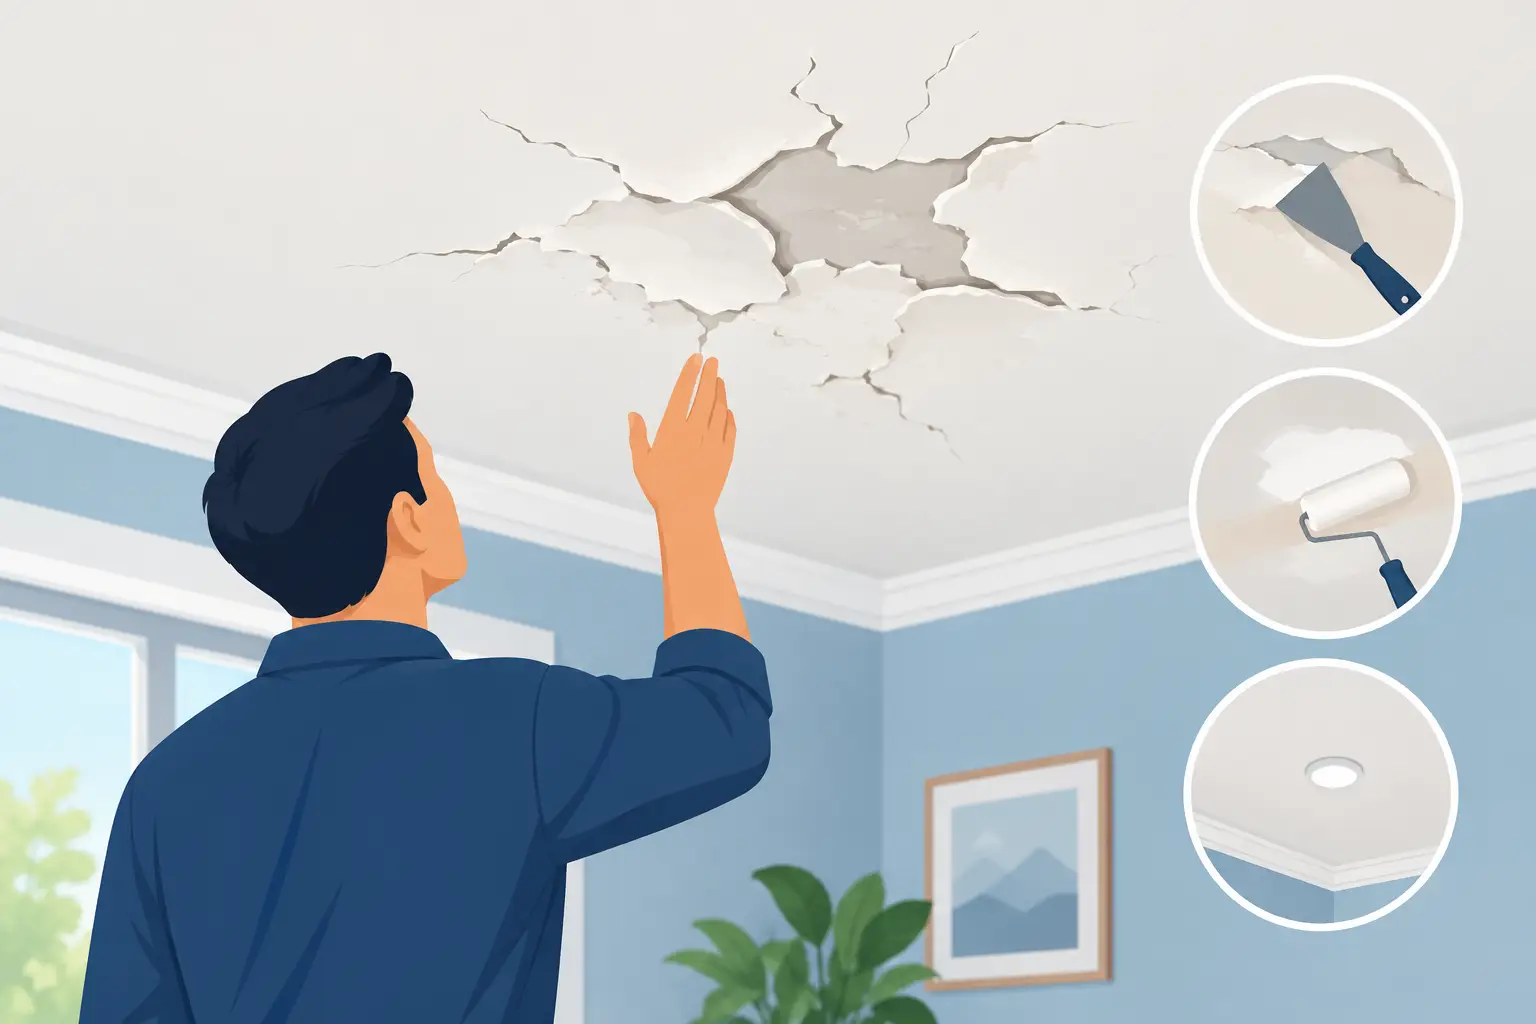
A hairline crack above the dining table can look minor one week and noticeably worse the next. Ceiling paint cracking is rarely just a paint problem. It can be caused by trapped moisture, movement in the building, a poorly prepared surface, or layers of old coating losing their grip. The right repair starts with identifying what is happening underneath the finish.
For homeowners, landlords, and property managers, the aim is not simply to cover the mark before it returns. It is to restore a smooth ceiling and address the condition that caused the damage in the first place.
What Ceiling Paint Cracking Can Tell You
Paint is a thin finish sitting over plasterboard, plaster, joint compound, and sometimes older painted surfaces. When any of those layers shift, get damp, or fail to bond correctly, the paint can split, craze, blister, or peel.
The pattern matters. Fine, web-like cracks may point to paint applied too heavily or recoated before the previous coat cured. A straight line that follows a plasterboard joint is more likely related to movement or failed joint tape. Peeling paint with brown staining often signals a current or previous water issue.
A ceiling can also crack as a house settles, particularly around additions, renovated rooms, or transitions between different building materials. Small seasonal movement is common. Repeated or widening cracks, however, deserve a closer look before any painting begins.
The Most Common Causes of Ceiling Paint Cracking
Moisture from leaks, condensation, or humidity
Bathrooms, kitchens, laundries, and top-floor rooms are frequent trouble spots. A leaking roof, plumbing fault, overflowing gutter, or failed waterproofing detail can allow moisture into the ceiling cavity. Even after the active leak stops, the old damage may remain as stained, soft, bubbling, or cracked paint.
Condensation can create a similar issue in poorly ventilated bathrooms. Steam settles on the ceiling, particularly after long showers, and repeatedly stresses the coating. A quality bathroom paint helps, but it cannot compensate for an exhaust fan that is undersized, blocked, or rarely used.
Never paint over a ceiling that still feels damp or shows fresh staining. The new finish may look acceptable briefly, then bubble or crack as moisture pushes through again. The source must be repaired and the substrate allowed to dry fully.
Inadequate surface preparation
A smooth-looking ceiling is not always a sound surface. Dust, grease, chalky old paint, smoke residue, and loose flaking areas can all prevent a new coat from adhering properly. This is especially common where a quick repaint has been applied over aging coatings without cleaning, sanding, or priming.
Preparation also includes repairing dents, cracks, and joint lines with compatible patching materials. Filling over a moving crack without securing the underlying joint is a temporary cosmetic fix. The ceiling may need loose tape removed, the joint re-taped, and the area feathered carefully before it is primed and painted.
Too many paint layers or incorrect application
Older homes can carry decades of paint. As layers build up, the coating becomes less flexible and more likely to crack when temperatures and humidity change. Thick application, using the wrong roller, or applying a second coat before the first has cured can also produce a brittle finish.
This does not mean every older ceiling needs to be stripped back completely. It depends on the condition of the existing paint. If it is stable after proper cleaning and sanding, it may provide a suitable base. If it is peeling, powdery, or extensively crazed, removing failed material is the more durable option.
Building movement and plasterboard joint failure
Many ceiling cracks appear at plasterboard joints. They may be subtle at first, then become more visible during hot, humid, or wet periods. Minor movement can occur naturally as framing materials expand and contract, but poor original installation, insufficient fastening, or deteriorated joint tape can make the problem more pronounced.
A fine crack that remains unchanged may be a straightforward maintenance repair. A crack that keeps reopening, runs alongside sagging plasterboard, or is accompanied by popping screws should be assessed properly. Painting alone will not correct a loose or unstable ceiling lining.
How to Assess a Cracked Ceiling Before Painting
Start with a careful visual inspection in good light. Look for yellow or brown water marks, soft sections, bubbling, flaking, mold, sagging, or cracks that extend down nearby walls. These details help separate a simple paint failure from a moisture or structural concern.
It is useful to note whether the crack follows a straight line, forms a random web, or appears around a light fitting, vent, cornice, or access hatch. Check above the room where possible. For example, a crack beneath a bathroom, roof valley, or air-conditioning unit may warrant further investigation before repairs begin.
Take dated photographs and measure any larger crack. If it grows over several weeks or months, or if doors and windows in the same area begin sticking, seek advice from a qualified building professional. A painter can repair many surface and plasterboard issues, but active movement or water ingress needs the appropriate trade involved first.
A Lasting Process for Repairing Ceiling Paint Cracking
The repair process should match the cause. For isolated hairline cracks on a dry, stable ceiling, the work may involve opening the crack slightly, removing loose material, applying a flexible filler, sanding smooth, spot priming, and repainting the full ceiling. Painting the entire surface helps prevent a visible patch or difference in sheen.
For failed plasterboard joints, the damaged tape and loose compound need to be removed rather than buried beneath more filler. The joint is then repaired, reinforced, coated in thin layers, dried, and sanded between applications. Patience is part of the finish here. Rushing drying times can leave ridges, shrinkage, or future cracking.
Where water staining is present, repair the leak first and confirm the area is fully dry. Any compromised plasterboard may need replacement. A stain-blocking primer is often required before the finishing coats, otherwise tannins and water marks can bleed through even fresh white paint.
Professional preparation makes the greatest visible difference. Furnishings and floors should be protected, dust controlled during sanding, imperfections repaired, and the ceiling primed where needed. High-quality ceiling paint is then applied evenly at the correct coverage rate for a clean, low-sheen finish that does not highlight every small surface variation.
When a DIY Repair Is Reasonable – and When It Is Not
A small, stable hairline crack in a dry spare room can be a manageable DIY project for someone comfortable with filling and sanding. The trade-off is that ceilings are unforgiving: poor sanding, visible patch edges, roller marks, and mismatched sheen are easy to notice once daylight hits the room.
Professional help is the sensible choice when cracking is widespread, paint is peeling, stains are present, plasterboard is sagging, or the damage returns after previous repairs. It is also worth considering for apartments and commercial spaces where access, tenant disruption, protection of furnishings, and a clean handover matter as much as the paint itself.
For coastal properties around Sydney’s Northern Beaches, humidity and wind-driven rain can make moisture diagnosis particularly important. A tidy repair is valuable, but a repair that stays tidy through changing conditions is the better outcome.
Preventing Cracks From Returning
Good maintenance reduces the chance of repeat damage. Use exhaust fans during and after showers, address roof and plumbing leaks promptly, and keep gutters and roof drainage in good condition. Avoid painting in very humid conditions or over surfaces that have not dried completely.
When repainting, do not skip cleaning and sanding simply because the ceiling is already white. Sound adhesion depends on a clean, stable base. Use the correct primer for repaired plaster, stains, or glossy existing coatings, and allow each product to dry according to its specification before moving to the next step.
A ceiling should feel like a quiet backdrop to the room, not a surface that continually draws the eye. When cracking appears, treating it as an early maintenance signal and repairing it carefully can protect both the finish and the property beneath it.