
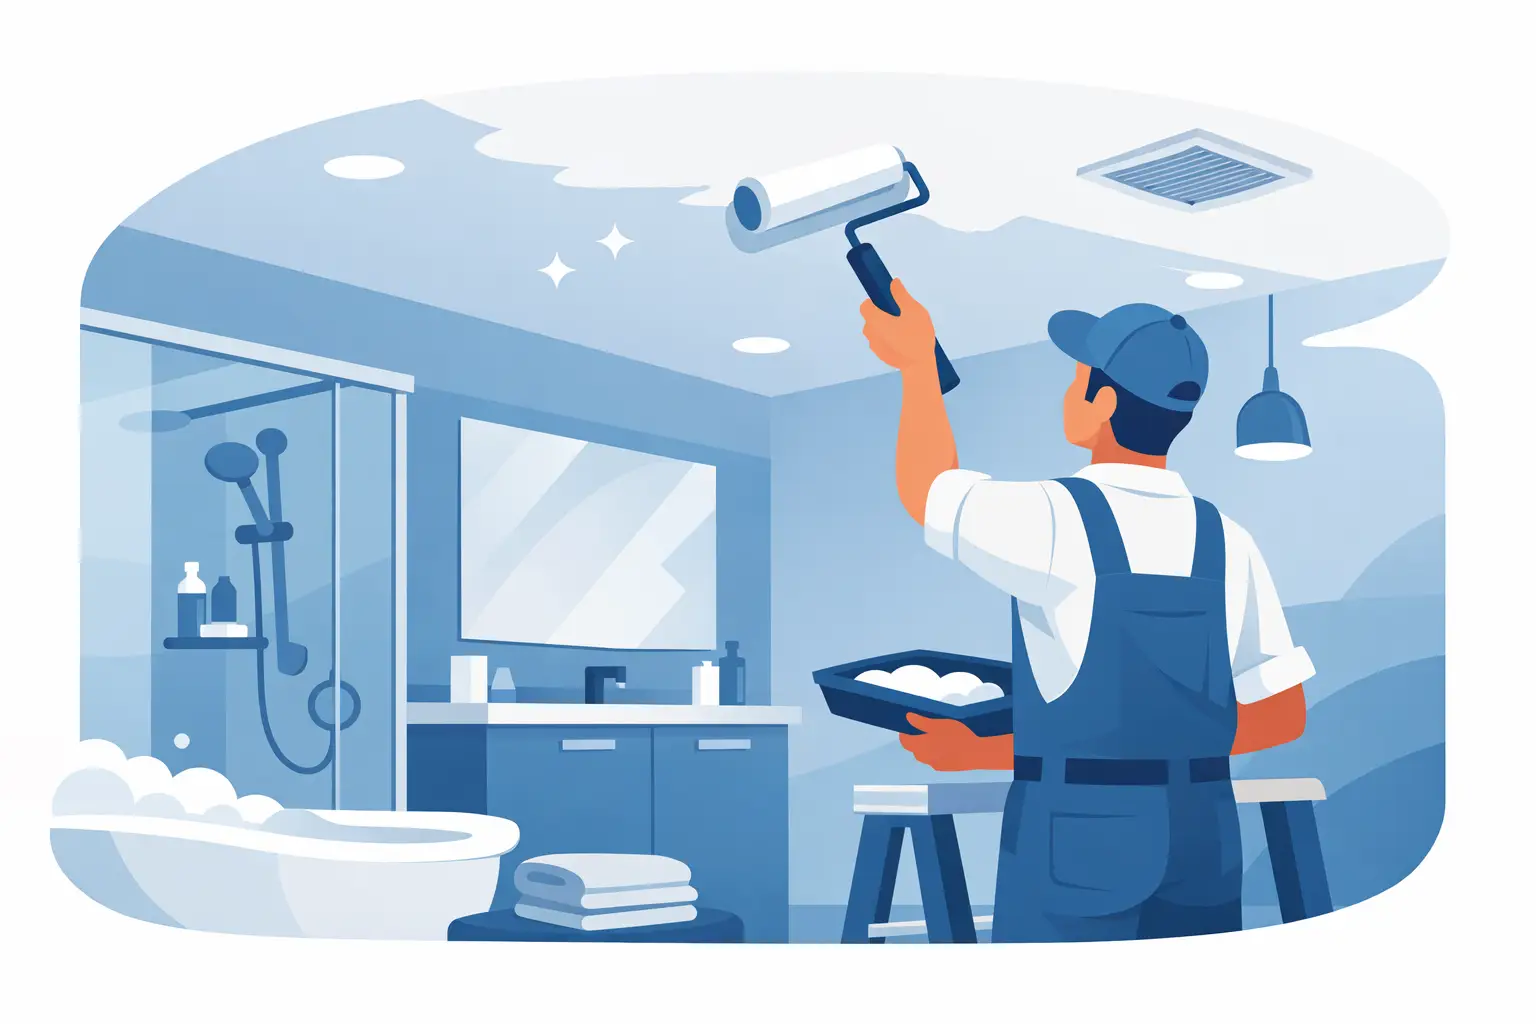
A bathroom ceiling can look clean one week and show peeling paint, gray spotting, or water marks the next. A professional bathroom ceiling painting service addresses more than the visible paint failure. It identifies what has affected the surface, repairs it properly, and applies a finish designed to stand up to regular moisture and steam.
For Northern Beaches homes, bathrooms often face a demanding mix of daily humidity, limited ventilation, and coastal air. A fresh coat of paint may improve the room briefly, but the result will not last if loose paint, mildew, stains, and moisture-related damage are simply painted over. Careful preparation is what separates a tidy short-term refresh from a ceiling that stays bright and well finished.
Why bathroom ceilings need a different approach
Bathroom ceilings are exposed to conditions that most other interior ceilings do not experience. Hot showers create condensation that settles overhead. If the room has a small window, an underperforming exhaust fan, or little natural airflow, that moisture can remain on the surface for long periods.
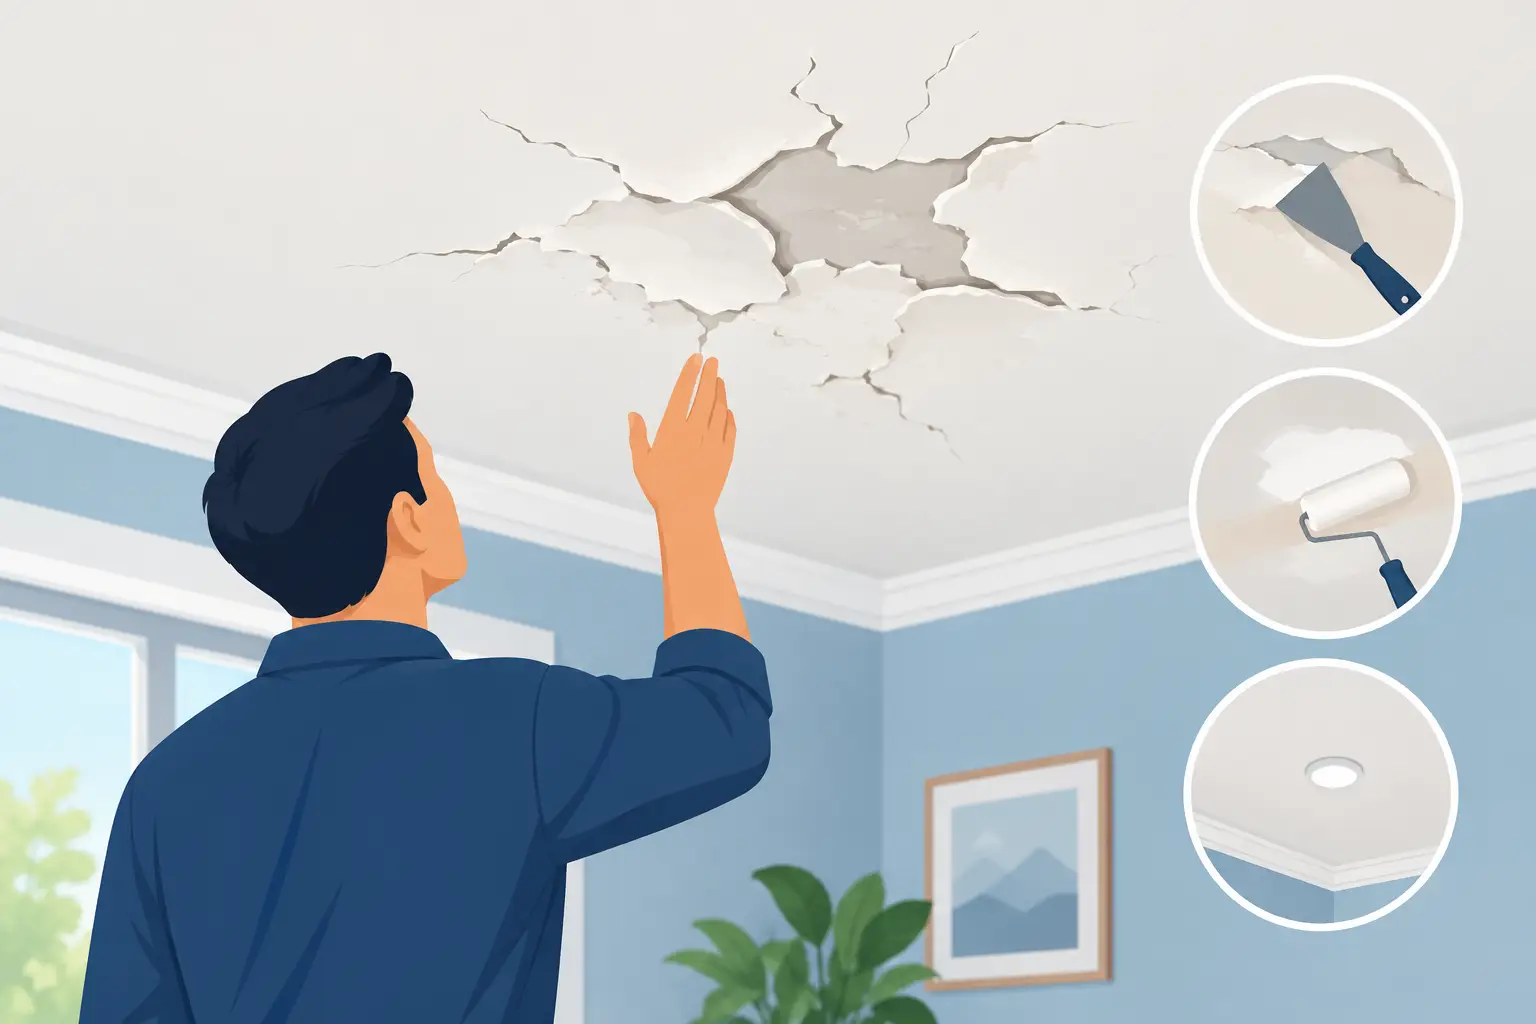
Over time, paint can soften, blister, crack, or peel. Dark spotting may be mildew, while yellow or brown marks can point to a past leak, condensation, or staining that needs to be sealed before repainting. These issues should not be treated as cosmetic details alone. The cause matters because a high-quality coating cannot compensate for an active plumbing leak or ongoing ventilation problem.
A professional painter will assess the ceiling before recommending a system. In some bathrooms, the work may only involve cleaning, spot repairs, sealing, and repainting. In others, damaged plaster, failed previous coatings, or water staining will require more extensive preparation. This is why a clear on-site assessment and upfront estimate are more useful than a one-size-fits-all price.
What a professional bathroom ceiling painting service includes
The best results begin well before a brush or roller reaches the ceiling. A well-managed painting service protects the room, prepares the surface methodically, and leaves the space clean at the end of the job.
Inspection and moisture checks
First, the ceiling is checked for peeling areas, cracking, stains, mildew, soft plaster, and signs of water damage. A painter can identify visible surface issues, but active leaks or faulty ventilation may need attention before painting begins. Repainting over a ceiling that is still getting wet will usually lead to another failure.
This step is also the right time to discuss practical improvements. Replacing or servicing an exhaust fan, leaving it running after showers, and improving airflow can make a significant difference to the lifespan of the new finish.
Protection of the bathroom
Bathrooms are compact spaces with plenty of fittings that need care. Floors, vanities, mirrors, shower screens, fixtures, and nearby walls should be protected before preparation starts. Professional painters work carefully around tile edges, light fittings, vents, and cornices so the finish looks intentional rather than rushed.
Clean work practices matter just as much in a small ensuite as they do in a larger bathroom. Dust from sanding and flakes from failed paint can quickly spread if the area is not properly contained and cleaned.
Surface cleaning, repairs, and sanding
Any mildew or surface contamination must be treated before painting. Loose or flaking paint is scraped back to a sound edge, then the area is sanded to reduce visible transitions. Cracks, minor dents, and damaged sections are filled or repaired as needed and sanded smooth once dry.
Stains deserve particular attention. Water marks and nicotine staining can bleed through a new topcoat, even when the selected paint is premium quality. A suitable stain-blocking primer creates a barrier so the finished ceiling remains even in color.
Primer and moisture-resistant topcoats
The coating system should suit the surface condition and the bathroom environment. Bare repairs, patched plaster, stains, and areas with uneven porosity may need primer before the finish coats are applied. Skipping this stage can result in flashing, patchiness, or reduced adhesion.
For the topcoat, a quality bathroom-appropriate paint offers better resistance to humidity and helps make routine cleaning easier. Ceiling finishes are commonly low sheen or flat-looking to minimize glare and hide minor surface variation, but the right choice depends on the ceiling condition and the paint product being used. A slightly higher sheen can be more washable, while a flatter finish may look more refined on a broad ceiling. The trade-off should be discussed before work begins.
When repainting is enough and when repairs come first
Not every stained or peeling bathroom ceiling requires major work. If the existing coating is generally sound and the problem is limited to a small area, a targeted repair and repaint may be an efficient solution. This is often the case after a minor issue has been fixed quickly.
However, widespread peeling, bubbling plaster, recurring mildew, or a large water stain calls for a closer look. The ceiling may need sections of failed material removed and repaired before it can be painted. Where there is evidence of an active roof, plumbing, or upstairs bathroom leak, the source must be resolved and the substrate allowed to dry fully.
The same principle applies to mold. Surface mildew caused by condensation can often be treated as part of preparation. Extensive or recurring mold may indicate a ventilation or moisture issue that should be investigated separately. Painting is the finishing step, not a substitute for solving the underlying cause.
Choosing the right ceiling color and finish
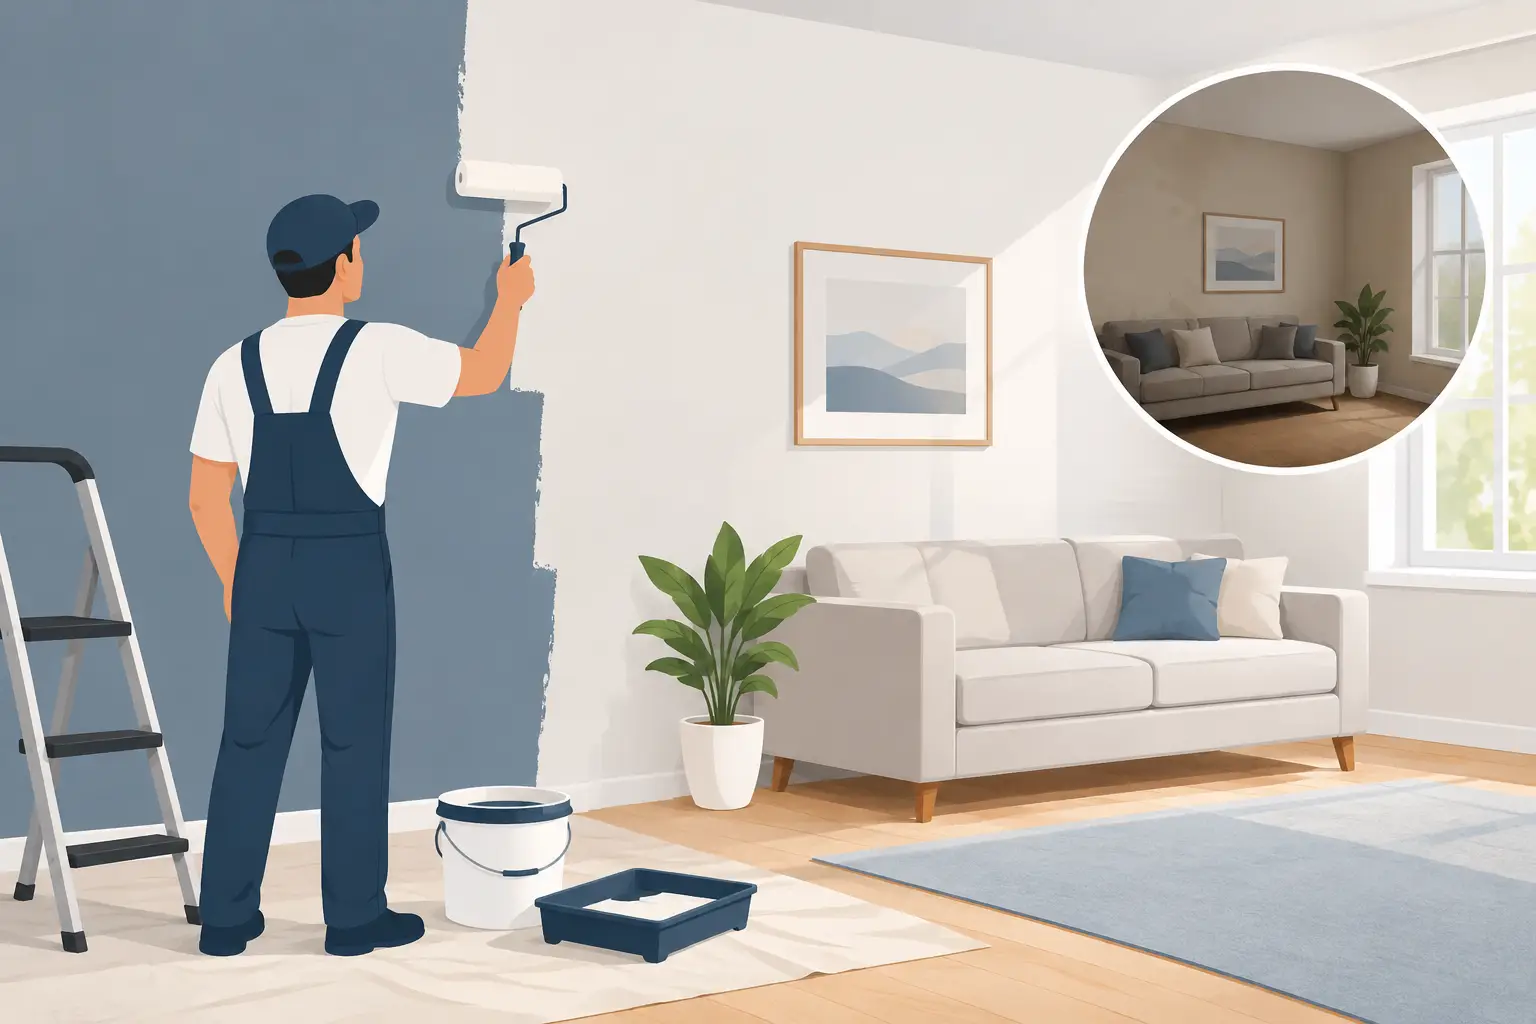
White remains the most common ceiling choice because it reflects light and gives a bathroom a cleaner, more open appearance. A crisp white ceiling can also make tiled walls, timber vanities, and feature colors look more defined. But there is no rule that says every bathroom ceiling must be bright white.
In a modern bathroom, a soft warm white can create a calmer finish when wall tiles and lighting have warmer undertones. In a compact powder room, continuing a wall color onto the ceiling can make the room feel more deliberate and less boxy. Darker ceiling colors can work in larger, well-lit spaces, although they tend to reveal water spotting more readily and need careful execution.
A professional consultation helps avoid a common problem: selecting a ceiling white that looks blue, yellow, or stark against the rest of the bathroom. Lighting, tile color, and adjacent rooms all influence how the paint reads once it dries.
What affects the cost of bathroom ceiling painting?
The size of the ceiling is only one part of the estimate. A small bathroom with heavy peeling, staining, high ceilings, difficult access, or detailed cornices can take more preparation than a larger ceiling in good condition. The condition of the existing paint, the extent of repairs, the need for stain blocking, and the number of coats all affect the scope.
The most useful quote explains what is included: surface preparation, repairs, primers, paint system, protection of surrounding surfaces, labor, and cleanup. This gives homeowners, landlords, and property managers a clearer comparison than a low figure that leaves essential preparation unclear.
For rental properties and strata-connected apartments, planning is also part of the service. Access arrangements, tenant communication, drying time, and minimal disruption all matter. A punctual, organized painting team can complete a straightforward bathroom ceiling refresh with far less inconvenience than many owners expect.
How to help a newly painted ceiling last longer
After the paint has cured, regular ventilation is the simplest form of maintenance. Run the exhaust fan during showers and for a period afterward, especially in bathrooms without windows. Wipe down persistent condensation where practical, and address drips from plumbing fittings or shower screens before they become ceiling stains.
Avoid harsh abrasive cleaning on the ceiling. If a small mark needs attention, use a soft cloth and mild cleaner, testing an inconspicuous area first. If spotting returns soon after repainting, do not keep applying touch-up paint. Find out whether humidity, a leak, or an exhaust issue is causing the recurrence.
For homeowners across Manly, Mona Vale, Dee Why, and surrounding Northern Beaches suburbs, Sharp Painting Services provides a careful, clean approach to interior painting projects of all sizes. The focus is on thorough preparation, quality materials, clear communication, and a finish that improves the room rather than merely covering the problem.
A bathroom ceiling should feel like a clean, quiet backdrop to the room. When moisture damage is addressed properly and the paint system is selected with care, that fresh finish can remain one less thing to worry about every time the shower runs.