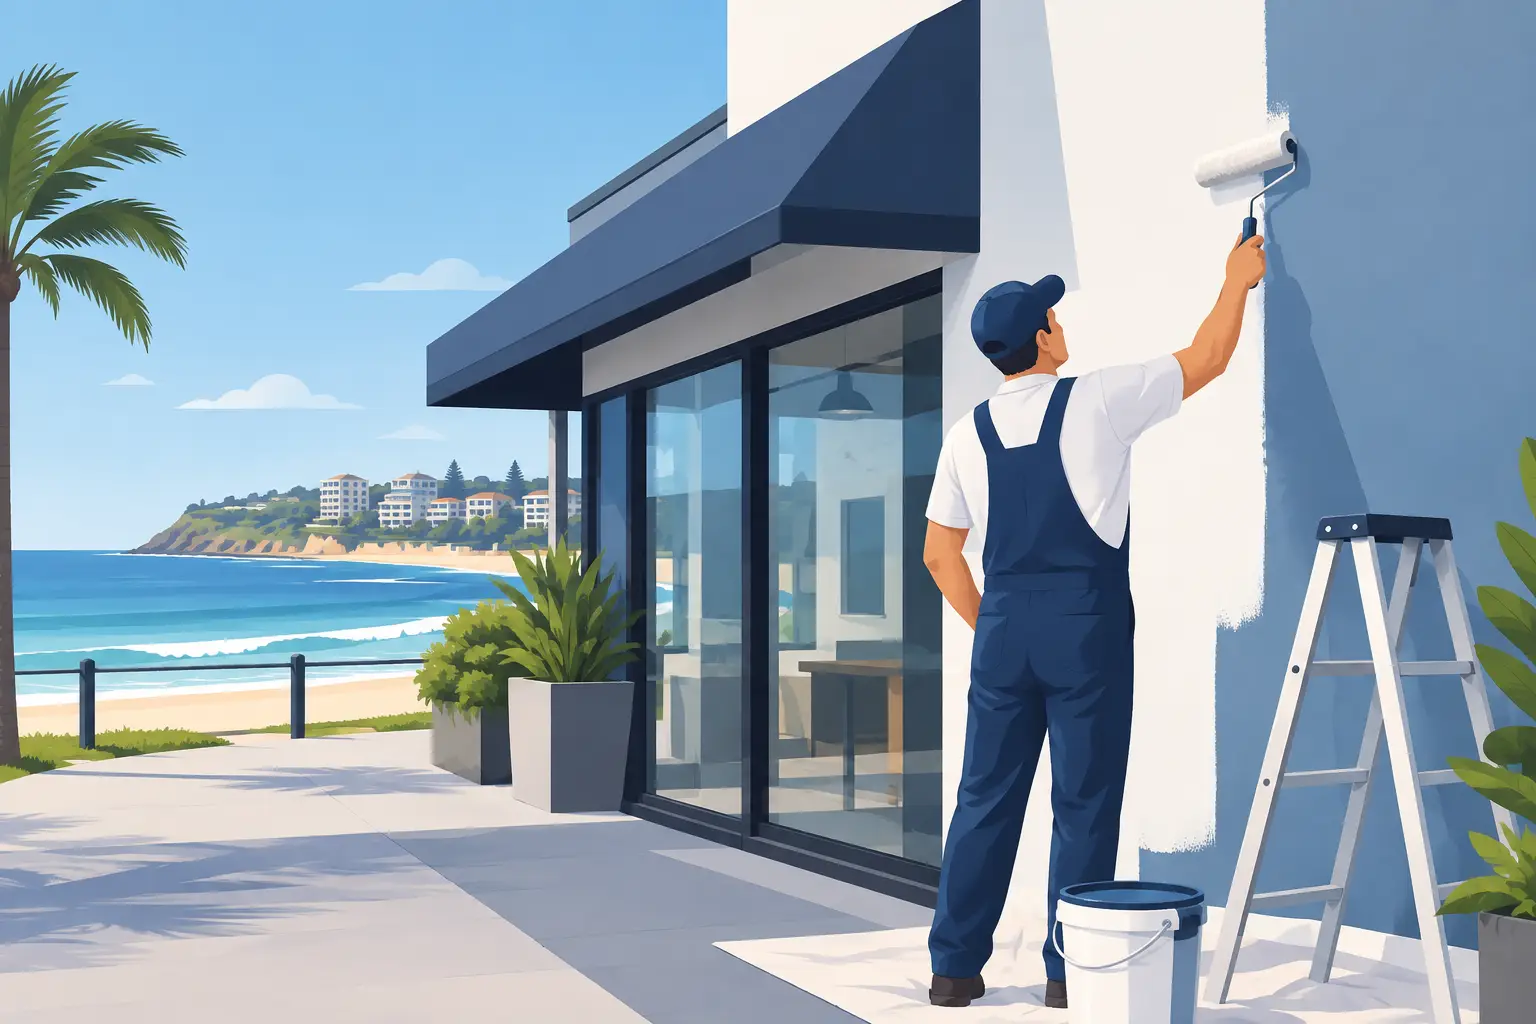


A faded facade is not just a cosmetic issue in Cromer. Salt carried on the breeze, strong sun, rain, and everyday exposure can gradually break down paint, reveal small defects, and leave a property looking less cared for than it is. This Cromer facade repainting guide explains how to approach the work properly, from identifying surface problems to choosing a finish that holds up in coastal conditions.
A well-planned exterior repaint improves street appeal, but its more valuable role is protection. Paint forms a barrier over timber, render, masonry, fiber cement, metalwork, and trim. That barrier only performs as intended when the surface below it has been properly assessed, repaired, cleaned, and primed.
Start With the Condition of the Facade
Before selecting colors or booking painters, inspect the exterior closely. Walk around the property at different times of day, as angled sunlight often makes cracks, patchy paint, and uneven surfaces easier to see. Look beyond the main walls to fascia boards, eaves, gutters, window frames, doors, balustrades, fences, and exterior trim.
Peeling or blistering paint deserves particular attention. It may simply mean an old coating has reached the end of its service life, but it can also point to trapped moisture, poor previous preparation, water leaks, or incompatible paint layers. Painting over a failed coating may improve the appearance briefly, yet the new finish can fail with it.
Hairline cracks in render are another common finding. Some are superficial and can be filled as part of preparation. Wider, recurring, or damp cracks should be investigated before painting, especially around windows, rooflines, balconies, and downpipes. Repainting is an opportunity to address small maintenance concerns before they become more visible and expensive repairs.
Why Preparation Determines the Result
The visible paint is the final layer of a much larger process. Thorough preparation is what gives a facade a clean appearance and helps the coating stay attached through changing weather.
A professional repaint typically begins with washing away salt residue, dirt, chalking paint, cobwebs, mildew, and airborne grime. In coastal areas, this step is essential. A surface can look clean from the street while still carrying contaminants that interfere with adhesion.
Once dry, loose and flaking paint should be removed, glossy areas sanded, and uneven sections smoothed. Gaps around trim and joints may need flexible exterior-grade sealant. Timber can require filling, sanding, and spot priming, while render or masonry may need crack repairs and a suitable sealer. Rusted metal elements should be treated before priming, not hidden beneath a fresh topcoat.
Preparation can feel like the slower part of the project, particularly when homeowners are eager to see a new color on the walls. It is also where lasting value is created. Skipping repairs or applying paint to a dusty, unstable surface is usually false economy.
Check moisture before coating
Exterior paint and moisture do not work well together. Walls need sufficient drying time after washing or rain, and suspected leaks should be fixed before coatings are applied. This matters around timber weatherboards, parapets, window sills, and areas beneath faulty gutters.
If a wall repeatedly develops bubbling paint or dark staining, the answer may not be another coat of paint. A careful inspection can identify whether drainage, flashing, seals, or ventilation needs attention first.
Choosing Paint for Cromer’s Coastal Conditions
Not every exterior product is suited to every surface. The best system depends on what your facade is made of, its current condition, sun exposure, and how close the property is to the coast.
High-quality exterior acrylic coatings are a strong choice for many painted masonry, render, and timber surfaces because they provide color retention and flexibility. Flexible coatings can better accommodate minor movement in exterior materials, reducing the chance of premature cracking. Timber, metal, and specialty surfaces may require different primers and topcoats to achieve proper adhesion and protection.
Finish level also makes a practical difference. Lower-sheen finishes can soften the appearance of broad rendered walls and disguise minor surface variation. Satin or semi-gloss finishes are often used on doors, trims, and architectural details because they are more washable and define those features clearly. Higher sheen can highlight imperfections, so it needs a smoother surface and careful application.
Color selection should balance style with maintenance. Very dark colors absorb more heat, which can place additional stress on certain substrates and may show fading more noticeably on exposed elevations. Very light colors can brighten a home and reflect heat, though they may show grime near entryways, lower walls, and garden areas. A considered palette often combines a durable main wall color with complementary trim and feature colors.
For homes in Cromer and nearby Northern Beaches suburbs, it is sensible to view sample colors outdoors rather than relying on a small indoor swatch. Morning light, afternoon sun, neighboring buildings, roof color, and surrounding greenery can all change how a color reads on the facade.
Plan the Work Around Weather and Access
Exterior repainting needs the right conditions. Rain, strong winds, high humidity, and extreme heat can affect drying, application, and finish quality. A professional painting schedule allows for suitable weather windows rather than treating every day as equal.
Access also shapes the scope of the project. Single-story facades are generally straightforward, while elevated walls, sloping sites, second-story gables, balconies, and detailed rooflines may require additional safety measures and equipment. These factors should be discussed during the estimate so the pricing and timeline are clear from the outset.
If you live in the property during the work, ask how areas will be protected and kept tidy. Good exterior painting should not mean paint splatter on paving, damaged garden beds, or an obstructed entry for longer than necessary. Drop sheets, masking, daily site organization, and final cleanup are part of professional conduct, not optional extras.
What a Clear Repainting Scope Should Include
A detailed quote makes it easier to compare painting proposals fairly. Price alone does not explain how thoroughly the job will be completed. One quote may allow for washing, repairs, primer, and multiple finish coats, while another may only cover a quick topcoat over the existing surface.
Your scope should clearly identify the surfaces being painted, the preparation included, any known repair work, the coating system, and the number of coats. It should also explain exclusions, such as major carpentry repairs, roof restoration, or remediation of hidden moisture damage that cannot be confirmed until preparation begins.
For strata properties and commercial buildings, clarify access arrangements, work hours, parking, resident or customer communication, and the staging of the project. A carefully organized schedule helps keep disruption low while maintaining consistent quality across larger facades.
A Practical Cromer Facade Repainting Guide for Homeowners
Homeowners can make the painting process smoother with a few early decisions. Confirm which exterior elements are included so there is no uncertainty over eaves, gates, garage doors, retaining walls, or fencing. Remove or protect movable outdoor furniture, and let the painting team know about irrigation systems, pets, access limitations, or areas that need to remain available.
It is also worth deciding whether the repaint is simply a refresh or part of a broader exterior upgrade. If you are replacing windows, repairing gutters, installing new lighting, or updating landscaping, coordinate the sequence. Painting too early can create avoidable touch-up work after other trades finish.
Sharp Painting Services approaches facade repainting with a clear consultation, careful surface preparation, quality materials, skilled application, and a clean handover. The goal is not merely to make a property look freshly painted on completion day. It is to deliver a finish that remains neat, protective, and well suited to the property over time.
Know When Repainting Should Not Wait
Exterior repainting is often easier and more economical when planned before significant failure appears. Fading alone may be largely visual, but peeling paint, exposed timber, cracking coatings, rust stains, or persistent mildew are signs that protection is being lost.
Watch the sun-facing side of the home closely. This elevation often ages faster, particularly when it receives prolonged afternoon exposure. Areas around windows, exterior doors, decks, and roof junctions also benefit from regular checks because they are more vulnerable to water entry and movement.
A facade repaint is a visible transformation, but the best projects are built on less visible care: sound repairs, correct primers, clean lines, considered color choices, and respect for the home throughout the work. When those details are handled properly, your exterior can look sharp now and stand up better to the next stretch of coastal weather.