
A new paint color can make a room feel completely different, but the finish will only look as good as the wall beneath it. Knowing how to prepare walls for painting is what separates a smooth, durable result from a surface that shows roller marks, peeling paint, or every old repair. Proper preparation takes time, but it prevents costly touch-ups and gives your chosen color the clean, even appearance it deserves.
For homes, apartments, and commercial spaces, the process should be tailored to the condition of the walls. A lightly used bedroom may need only cleaning and minor filling. A busy hallway, rental property, bathroom, or coastal home may need more attention due to grease, moisture, salt air, scuffs, and previous paint failures.
How to Prepare Walls for Painting Properly
The goal is not simply to make the wall look clean before opening a paint can. Preparation creates a stable, even surface that allows primer and finish coats to bond correctly. Rushing this stage can leave visible flaws that become more obvious once light hits freshly painted walls.
1. Clear the room and protect what stays
Start by moving furniture away from the walls or, ideally, out of the room. Cover remaining furniture with clean drop cloths or plastic sheeting, and protect floors with canvas drop cloths or purpose-made floor coverings. Canvas is often the better choice for paint work because it is less slippery and more absorbent than thin plastic.
Remove artwork, window coverings, switch plates, outlet covers, and wall-mounted hardware where practical. Taking off these small items produces a neater edge than painting around them. It also reduces the risk of getting paint on fittings that are difficult to clean later.
A professional setup should feel organized before any repairs begin. Clean protection, labeled hardware, and clear access around the room help keep the project on schedule and reduce disruption in occupied homes or workplaces.
2. Inspect every wall in good light
Walk through the room slowly and inspect walls from different angles. Natural side light from windows is useful because it reveals dents, nail holes, patched areas, cracks, rippling, and old roller marks that can disappear under general overhead lighting.
Mark defects lightly with pencil or small pieces of painter’s tape. Look closely around door frames, corners, windows, vents, and high-traffic areas. These are common places for damaged paint, movement cracks, fingerprints, and impact marks.
Not every crack has the same cause. Fine, stable hairline cracks can often be filled as part of normal preparation. Wider cracks, recurring cracks, damp patches, or bubbling paint need further investigation before painting. Covering an active moisture problem may make the room look better briefly, but the paint can blister or peel again once moisture returns.
3. Clean away dust, grease, and residue
Paint does not adhere well to dirty walls. Even walls that appear clean can carry household dust, cooking residue, smoke film, handprints, hairspray, cleaning-product residue, or oils from frequent contact.
Dust walls and trim first using a vacuum with a brush attachment, microfiber cloth, or soft broom. Then wash areas that need it with a suitable wall cleaner and clean water, following the product directions. Kitchens, bathrooms, laundry rooms, entryways, and commercial spaces usually need more thorough washing than low-use rooms.
Avoid soaking drywall or leaving cleaner on the surface. Wipe down with clean water if required and allow walls to dry fully. Painting over a damp surface can affect adhesion and may trap moisture behind the finish.
4. Remove loose or failing paint
Run a scraper over any flaking, chipped, blistered, or peeling sections. Remove only paint that has lost its bond with the wall. If the surrounding paint is firmly attached, there is no need to strip an entire wall simply because of a small damaged area.
Feather the edges of the remaining paint so the repair blends into the surrounding surface. A sharp edge left beneath new paint can remain visible, especially with satin, semi-gloss, or darker colors.
Older properties require extra care. If there is any possibility that existing coatings contain lead, do not dry-sand or scrape without appropriate testing and safety controls. Professional assessment is the sensible option when the paint history is uncertain.
5. Fill holes, dents, and cracks
Use a quality patching compound for small nail holes, minor dents, and shallow surface damage. Apply it in thin layers with a flexible putty knife rather than trying to overfill a deep hole in one pass. Thick filler can shrink, crack, or take much longer to dry.
For deeper damage, use the repair material suited to the substrate and issue. Drywall holes may need mesh reinforcement. Gaps around trim can require paintable caulk. Cracks at joints may need more than surface filler if movement is ongoing.
Let each repair dry as directed, then check it with your hand as well as your eyes. A repair should feel level with the surrounding wall. If you can feel a ridge, fresh paint is likely to highlight it.
6. Sand for a smooth, even surface
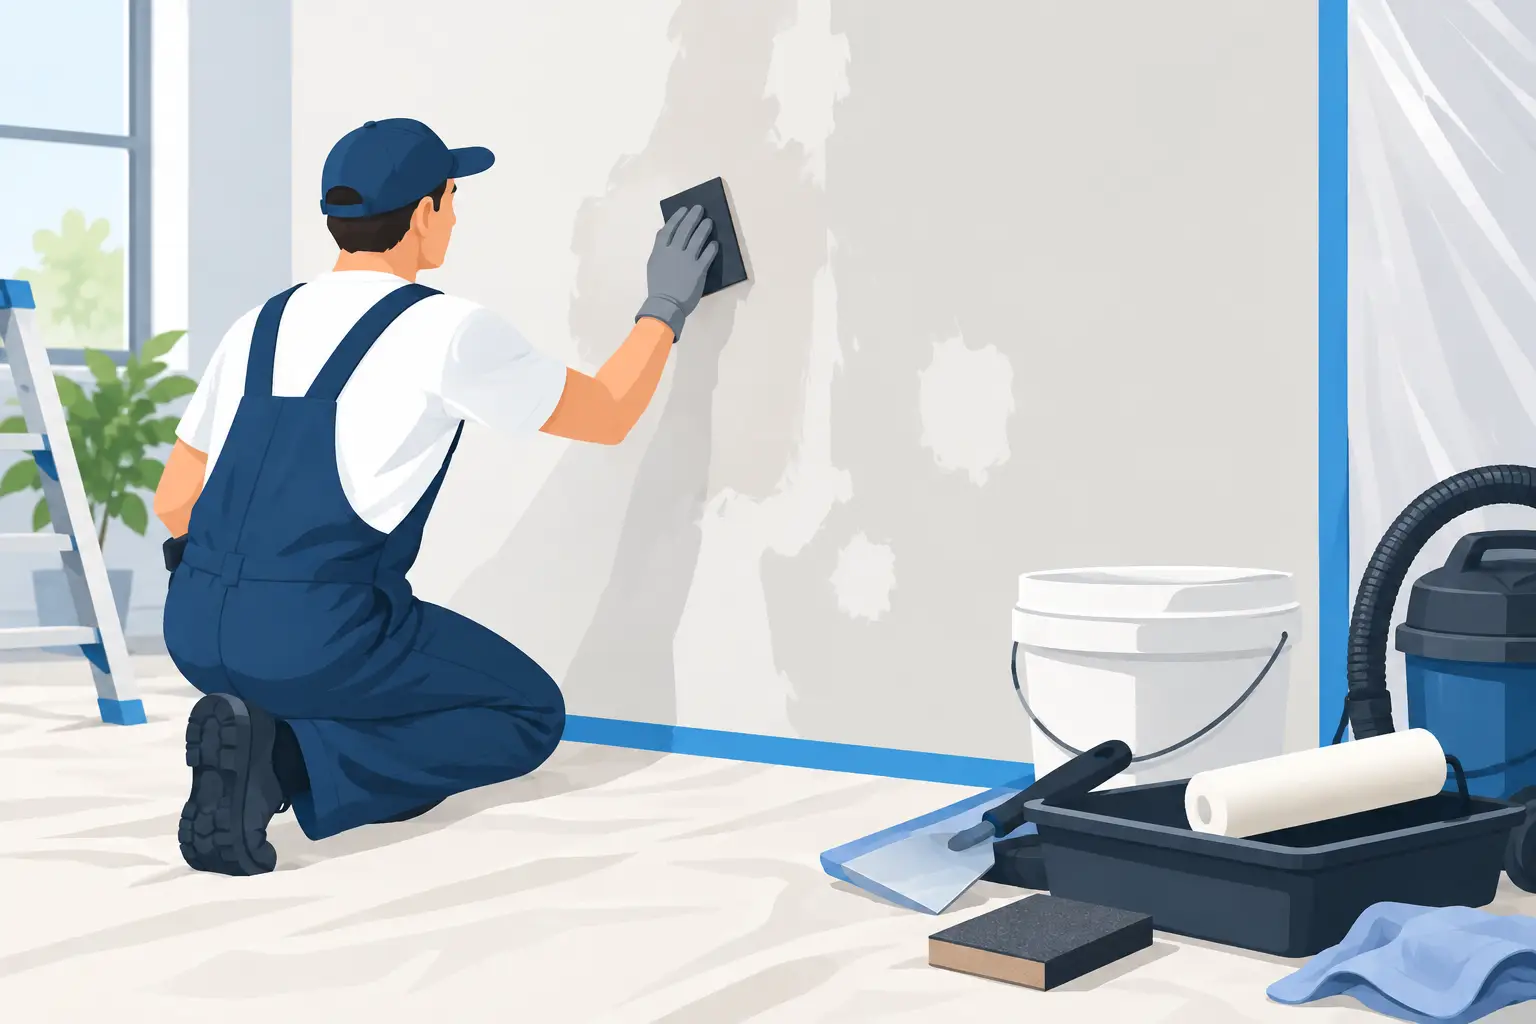
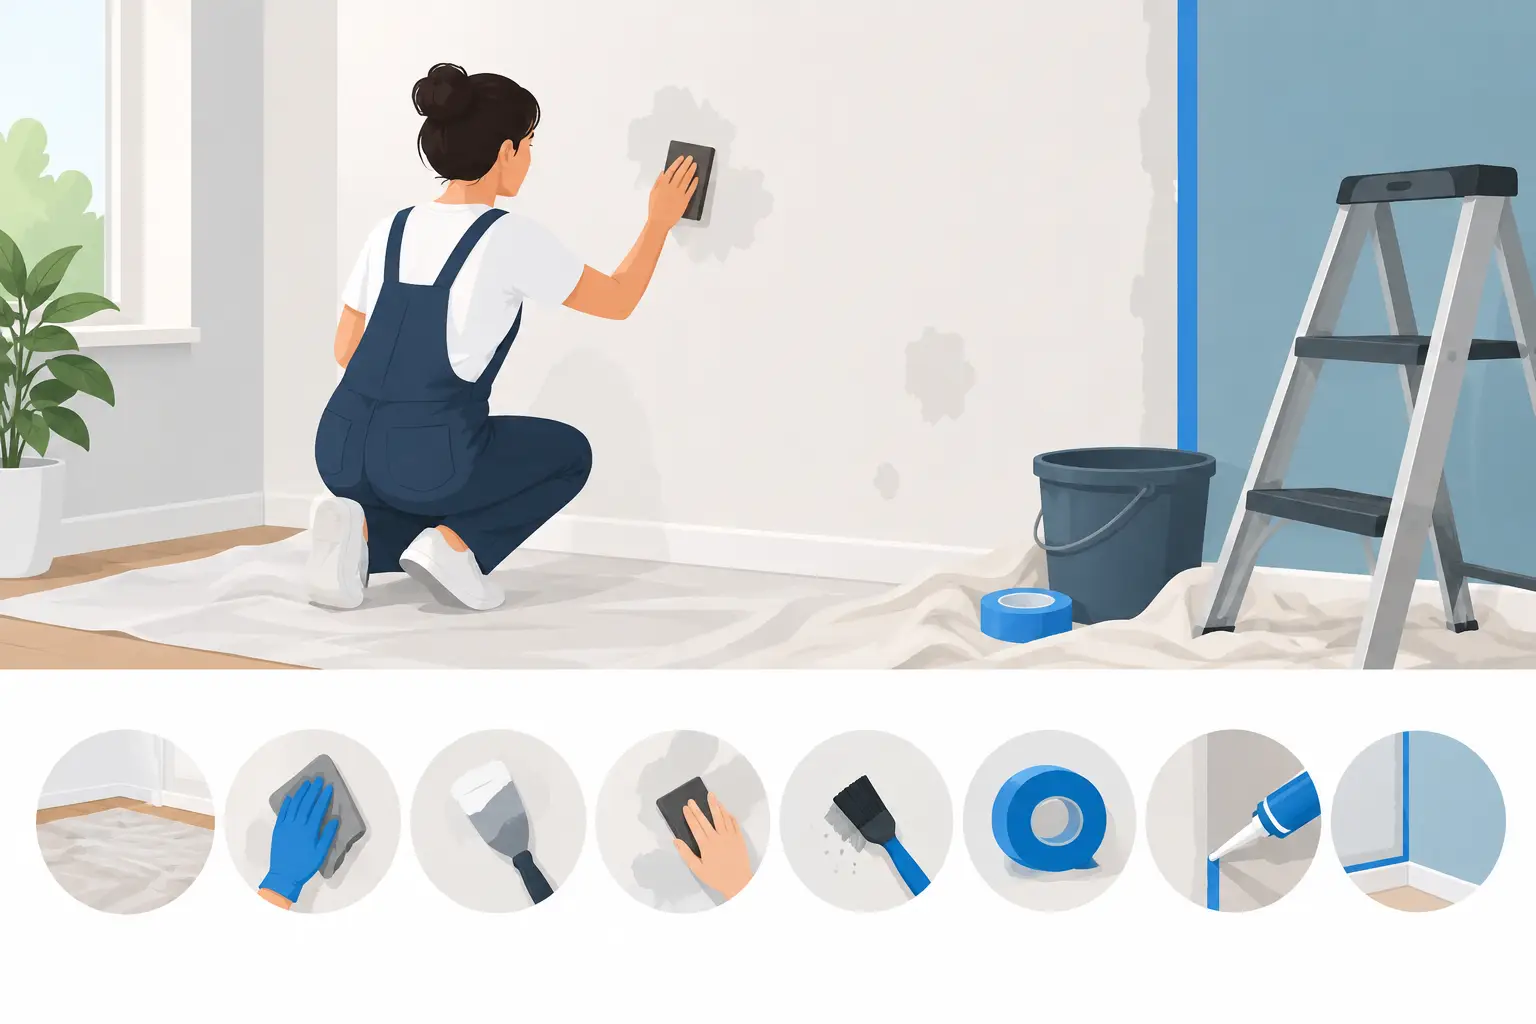
Sanding is where wall repairs become nearly invisible. Use fine-grit sandpaper for patched areas and to dull glossy surfaces that may resist a new coating. The aim is to smooth rough edges and create a surface with enough tooth for paint to grip, not to aggressively sand through sound paint.
Use a sanding block for small repairs and a pole sander for broad walls or ceilings. Keep pressure even. Over-sanding can create hollow spots around patches that show once the wall is painted.
After sanding, remove all dust. Vacuum the walls, wipe them with a slightly damp microfiber cloth, and allow them to dry. Dust left on a wall can create a gritty finish and weaken the bond between primer and paint.
7. Caulk gaps and mask clean edges
Paintable caulk gives trim and wall junctions a more finished appearance. Apply it sparingly to small gaps along baseboards, door casings, window trim, and interior corners where appropriate. Smooth the bead promptly with a caulking tool or damp finger for a clean result.
Caulk is not a substitute for repairing large gaps or structural movement. It is best used for narrow, stable joints. Allow it to cure according to the manufacturer’s instructions before priming or painting.
Masking tape can protect trim, glass, fixtures, and surfaces that are not being painted. Press tape edges down firmly to reduce paint bleed, but do not rely on tape alone to create a quality cut line. Careful brushwork remains essential, particularly around detailed trim and fixtures.
8. Prime where the wall needs it
Primer is not always required over a clean, sound wall in a similar color, but it is often the right investment. Prime bare drywall, repaired patches, stained areas, water marks that have been properly resolved, raw timber, and surfaces changing from a deep color to a pale shade.
The correct primer depends on the surface and problem. Stain-blocking primers help isolate water, smoke, or tannin marks. Bonding primers help on difficult glossy surfaces. A drywall primer can even out porosity on new plasterboard and reduce uneven sheen in the final finish.
Spot priming may be enough for small repairs, while full-wall priming is preferable when there are extensive patches, significant color changes, or inconsistent existing finishes. The trade-off is time and material cost versus a more uniform, longer-lasting outcome. In most visible living areas, full preparation is worth it.
Conditions Matter Before You Paint
Even perfectly prepared walls should not be painted under poor conditions. Keep the room well ventilated, avoid painting onto cold or damp surfaces, and allow fillers, caulk, primer, and previous coats to dry fully. Drying time can vary with humidity, temperature, airflow, and product type.
For Northern Beaches properties, coastal humidity and salt exposure can add another layer of consideration, particularly near windows, entrances, and exterior-facing walls. If paint failure keeps returning in the same location, identifying the cause is more valuable than applying another quick coat.
When Professional Preparation Makes Sense
Preparation can be manageable for a simple room refresh, but professional help is often worthwhile when walls have extensive cracking, water staining, damaged plaster, high ceilings, detailed trim, or a tight completion deadline. A skilled painting team can assess surface conditions, select compatible products, protect the property carefully, and complete repairs without leaving a patchwork appearance.
At Sharp Painting Services, preparation is treated as part of the finish, not an optional extra. Careful protection, surface repairs, sanding, priming, and cleanup help ensure the finished room looks polished from every angle.
A fresh coat of paint should make a space feel cared for, not draw attention to the problems underneath. Give the walls the time and attention they need first, and the final color will have every chance to look clean, even, and built to last.