

Fresh paint can look excellent on day one and still fail far sooner than it should. Peeling around a window, visible wall patches, bubbling paint in a bathroom, or an uneven sheen usually points to what happened before the first coat was applied. So, what does surface preparation include? It includes the detailed work that makes paint bond properly, look smooth, and stand up to daily wear, moisture, sun, and coastal conditions.
For a professional painting project, preparation is not an optional extra. It is the foundation of the finish. The exact process depends on the surface, its condition, and whether the work is indoors or outside, but careful preparation is where a quality result begins.
What Does Surface Preparation Include?
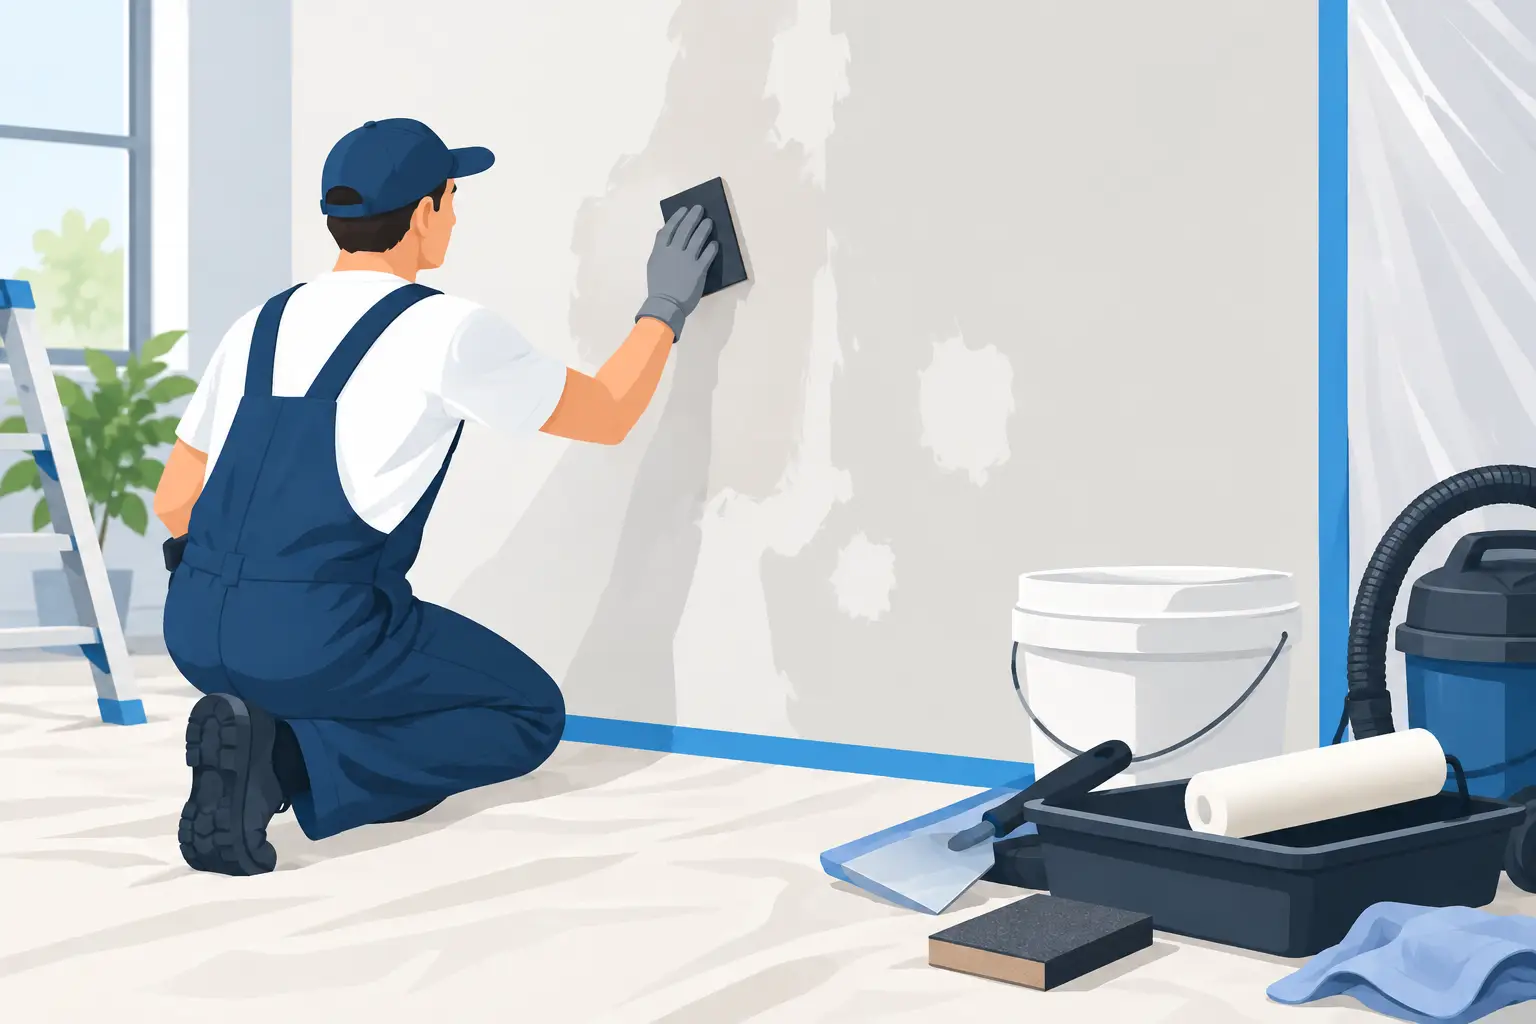
Surface preparation includes inspecting the area, protecting the property, cleaning the surface, removing loose material, repairing imperfections, sanding, filling gaps where needed, spot-priming or priming, and checking that the surface is ready for paint. Each stage has a purpose. Skipping one can affect adhesion, appearance, or the lifespan of the paint system.
A newly built plaster wall, for example, needs a different approach from weathered timber cladding or a previously painted apartment ceiling. A good painter assesses the substrate rather than applying the same routine everywhere.
Inspection and planning
Preparation starts with a close inspection. This reveals problems that paint alone cannot solve, such as moisture staining, peeling coatings, hairline cracks, timber rot, rust, mold, failed caulking, or chalky exterior paint.
This is also when the right paint system is selected. High-traffic hallways may need a washable interior finish, while exterior surfaces near the coast may need products designed to withstand moisture, salt air, and strong sun. Finding these details early helps avoid unnecessary delays and makes the quote and scope of work clearer from the outset.
Protecting floors, furniture, and surrounding areas
Professional preparation is as much about protecting the property as it is about preparing the wall. Floors, furnishings, benchtops, landscaping, windows, fixtures, and fittings should be covered or masked before repair and painting work begins.
Inside a home, this may involve moving furniture away from work areas, laying drop cloths, and carefully masking trim, switches, and cabinetry. Outside, preparation can include protecting paths, garden beds, windows, decks, and neighboring surfaces from dust and paint splatter. A clean work area makes the project easier to manage and supports a tidy handover.
Cleaning Creates a Sound Painting Surface
Paint needs a clean, dry surface to adhere well. Dust, grease, smoke residue, hand marks, mildew, salt deposits, and airborne grime can all interfere with adhesion. Even a wall that appears clean may have enough contamination to cause problems with a new coat.
Interior walls are often washed with an appropriate cleaning solution, particularly in kitchens, bathrooms, laundries, and around frequently touched areas. Bathroom ceilings and damp-prone surfaces need special attention if mildew is present. Simply painting over mildew does not address the cause or prevent it from returning.
Exterior cleaning is equally important. Walls, eaves, fascias, fences, and trim collect dirt and chalking as they weather. Depending on the surface condition, cleaning may involve washing, scrubbing, or controlled pressure cleaning. The method should suit the material. Excessive pressure can damage soft timber, force water behind cladding, or worsen existing weaknesses.
After cleaning, the surface must dry fully. Painting over damp areas can trap moisture and lead to blistering, peeling, or staining later.
Removing Loose or Failing Paint
If existing paint is flaking, bubbling, cracking, or lifting from the surface, it needs to be removed or feathered back before repainting. A new coat cannot reliably hold down a failing layer underneath it.
This may involve scraping loose paint, sanding rough edges, and creating a smooth transition between bare areas and sound existing coatings. On metalwork, surface rust must be removed and treated appropriately. On timber, weathered fibers or deteriorated coatings may need more extensive sanding before the surface is ready.
The trade-off is time. Thorough paint removal and sanding add labor, but they reduce the risk of a fresh finish failing because the old surface was unstable. On prominent walls, doors, and trim, this difference is especially visible once light hits the finished paint.
Repairs to cracks, dents, and damaged areas
Paint highlights surface flaws. Small dents, nail holes, cracks, and uneven patches that are easy to overlook before painting can become obvious once a smooth finish is applied.
Preparation includes filling minor holes and dents, repairing cracks, patching damaged plasterboard, and addressing imperfections in timber trim. Larger issues may require a more substantial repair before painting can continue. Where cracks are caused by movement, the right flexible filler or sealant matters. A rigid product in a moving joint may crack again quickly.
Exterior preparation can include filling timber defects, replacing badly deteriorated sections, and sealing open joints around windows, doors, or cladding. Caulking helps create clean lines and keeps water out of vulnerable gaps, but it should not be used as a substitute for repairing damaged materials.
Sanding for Smoothness and Adhesion
Sanding does two jobs. It smooths repaired areas and rough edges, while also creating a surface that helps the next coating grip. Glossy doors, trim, cabinets, and previously painted surfaces often need a light abrasion before repainting, even when they look sound.
The right level of sanding depends on the surface. A wall repair may only need a fine sand to blend it into the surrounding wall. A gloss-painted door with brush marks or scratches may need more careful sanding to improve the final appearance. Dust is then removed before primer or paint is applied, because leftover sanding dust can leave a gritty finish or weaken adhesion.
This is one reason a polished result takes more than choosing a premium paint. High-quality materials perform best when applied to a smooth, stable, properly prepared surface.
Priming and Sealing Where Needed
Primer is not always required across every sound, previously painted wall. However, it is essential in many situations, including bare plaster, fresh repairs, exposed timber, metal, stains, porous surfaces, and areas where a major color change is planned.
A suitable primer can seal porous areas so they do not absorb paint unevenly. It can improve adhesion on difficult substrates, block water or nicotine stains, and protect metal from corrosion. Spot-priming repairs is common, but a full primer coat may be the better choice when the wall has widespread patching, uneven porosity, or uncertain existing coatings.
Using the wrong primer, or omitting it to save time, can result in flashing. This is when repaired or patched areas show through the finish because they reflect light differently from the surrounding paint.
Final checks before the first coat
Before painting starts, the prepared surface should be checked under good lighting. The painter looks for rough patches, missed cracks, dust, unstable edges, open gaps, and areas that still need primer. Masking lines are reviewed, surrounding surfaces are protected, and the work area is organized for clean application.
This final check is where meticulous preparation pays off. It is much easier to correct a small imperfection before the topcoat than after the room or exterior wall has been completed.
Why Preparation Varies by Surface
There is no single preparation checklist that fits every project. Interior walls may need cleaning, patching, sanding, and spot-priming. Exterior weatherboards may require washing, scraping, timber repairs, sanding, gap sealing, and a full undercoat. Metal railings need rust treatment and a compatible metal primer, while bathroom ceilings may need mildew treatment and moisture-resistant coatings.
The condition of the property also matters. A recently renovated home may only need minor repairs and careful protection. An older home in Manly, Mona Vale, or another coastal Northern Beaches suburb may have more weather exposure, salt residue, and sun damage to address. A reliable painting contractor explains these differences clearly, so property owners understand what the work involves and why it is necessary.
When comparing painting quotes, look beyond the number of finish coats. Ask how surfaces will be cleaned, what repairs are included, whether primer is allowed for, and how floors and furnishings will be protected. The care given before painting is often the clearest sign of how the finished project will look and last.