
Timber cladding gives a home warmth, texture, and a finish that feels at home on Sydney’s Northern Beaches. But sun, salt air, wind-driven rain, and moisture can quickly expose weak paintwork. This guide to painting timber cladding explains the work that happens before the topcoat goes on – because long-lasting results depend far more on preparation and product choice than a fresh color alone.
A well-painted timber exterior should look crisp from the street, resist peeling around joins and edges, and protect the boards beneath it. Getting there requires a careful assessment of the timber, a dry and stable surface, and a coating system suited to the conditions.
Start by Assessing the Cladding
Before choosing a color, inspect the existing finish and the condition of the timber. Look closely at board ends, horizontal ledges, window trims, butt joints, and areas beneath gutters. These are common places for water to sit and paint to fail first.
Flaking, cracking, chalking, or bubbling paint is a sign that the coating has lost its bond or moisture is affecting the timber. Press gently on suspect boards with a screwdriver. Soft timber, dark staining, or a surface that gives under pressure may indicate rot rather than a simple paint issue. Painting over damaged wood only hides the problem briefly.
The existing coating also matters. Previously painted cladding can usually be repainted once loose material has been removed and the surface is properly sanded. Bare timber needs a more complete system, including a suitable primer. If the boards have been stained or finished with an unknown coating, adhesion testing is wise before committing to the full project.
Weather Makes a Real Difference
Painting timber is not a job to rush between showers. Wood absorbs and releases moisture, and trapped moisture beneath paint can lead to blistering, peeling, and premature breakdown. The cladding must be dry before preparation begins and remain dry through priming and painting.
Avoid painting in direct harsh sun where possible. A wall that feels hot can cause paint to dry too quickly, making it harder to maintain an even wet edge and achieve a smooth finish. Very windy conditions create a different problem, carrying dust and debris onto fresh paint while speeding up drying times.
On coastal properties in areas such as Manly, Mona Vale, and Narrabeen Beach, salt residue deserves extra attention. Washing is not optional. Salt left on the surface can compromise adhesion, even if the boards appear clean to the eye. Plan the work around a stable weather window and follow the coating manufacturer’s temperature and drying guidance rather than relying on the calendar alone.
Preparation Is Where the Finish Is Won
The right preparation creates a clean, sound surface for the new coating to grip. It also determines whether the finished cladding looks refined or uneven. The process generally begins with washing to remove salt, dirt, cobwebs, mildew, and loose chalky residue. Allow the timber to dry fully afterward.
Next, scrape away all loose or lifting paint. There is no benefit in removing sound, firmly adhered paint simply for the sake of it, but every unstable edge must go. Sand the remaining paint edges smooth so they do not show through the new finish. Sand bare timber enough to remove weathered fibers and create a consistent surface, then remove all dust.
Small holes, open nail heads, and minor splits should be repaired with an exterior-grade filler that can handle movement. Larger gaps and failed joints may need flexible exterior sealant, while rotten sections should be repaired or replaced before painting. Sealant is useful around trims and junctions, but it is not a substitute for sound timber or correct flashing.
Pay particular attention to exposed board ends. End grain takes on moisture more readily than the face of a board, so it needs thorough priming and coating. This small detail is often the difference between paint that lasts and paint that begins failing along the lower edges within a few seasons.
Choose a Paint System, Not Just a Paint Color
Exterior timber cladding needs compatible products working together: primer, undercoat where required, and topcoats. Selecting only a premium topcoat while skipping the correct primer can undermine the entire job.
For bare timber, use a high-quality exterior wood primer recommended for the species and condition of the boards. Some timbers contain natural tannins that can bleed through light paint colors, creating brown or yellow staining. A stain-blocking primer may be necessary in these situations. New or resinous timber can also require specific preparation, particularly where knots are visible.
For previously painted surfaces in sound condition, spot-prime bare areas and repairs, then apply a compatible exterior topcoat across the full wall. A professional assessment is valuable when the existing coating is unknown, as incompatible layers can react or fail to bond.
A quality exterior acrylic coating is often a practical choice for timber cladding because it has flexibility as the boards expand and contract. The best sheen depends on the property and the wall condition. Low sheen offers a contemporary appearance and hides minor surface irregularities better than glossier finishes. Satin or semi-gloss can be easier to wash and may suit trims, doors, and detail work, but higher sheen also highlights imperfections.
Dark colors deserve careful consideration. They can create a striking modern exterior, but they absorb more heat, which increases stress on timber and paint films. This does not mean dark cladding is always unsuitable. It means the timber, orientation, coating specification, and maintenance plan should all be considered before choosing it.
How to Apply Paint to Timber Cladding
Good application starts with protecting the site. Cover windows, paving, garden areas, and adjacent finishes, and remove or mask hardware where practical. A clean work area protects the property and prevents avoidable touch-ups later.
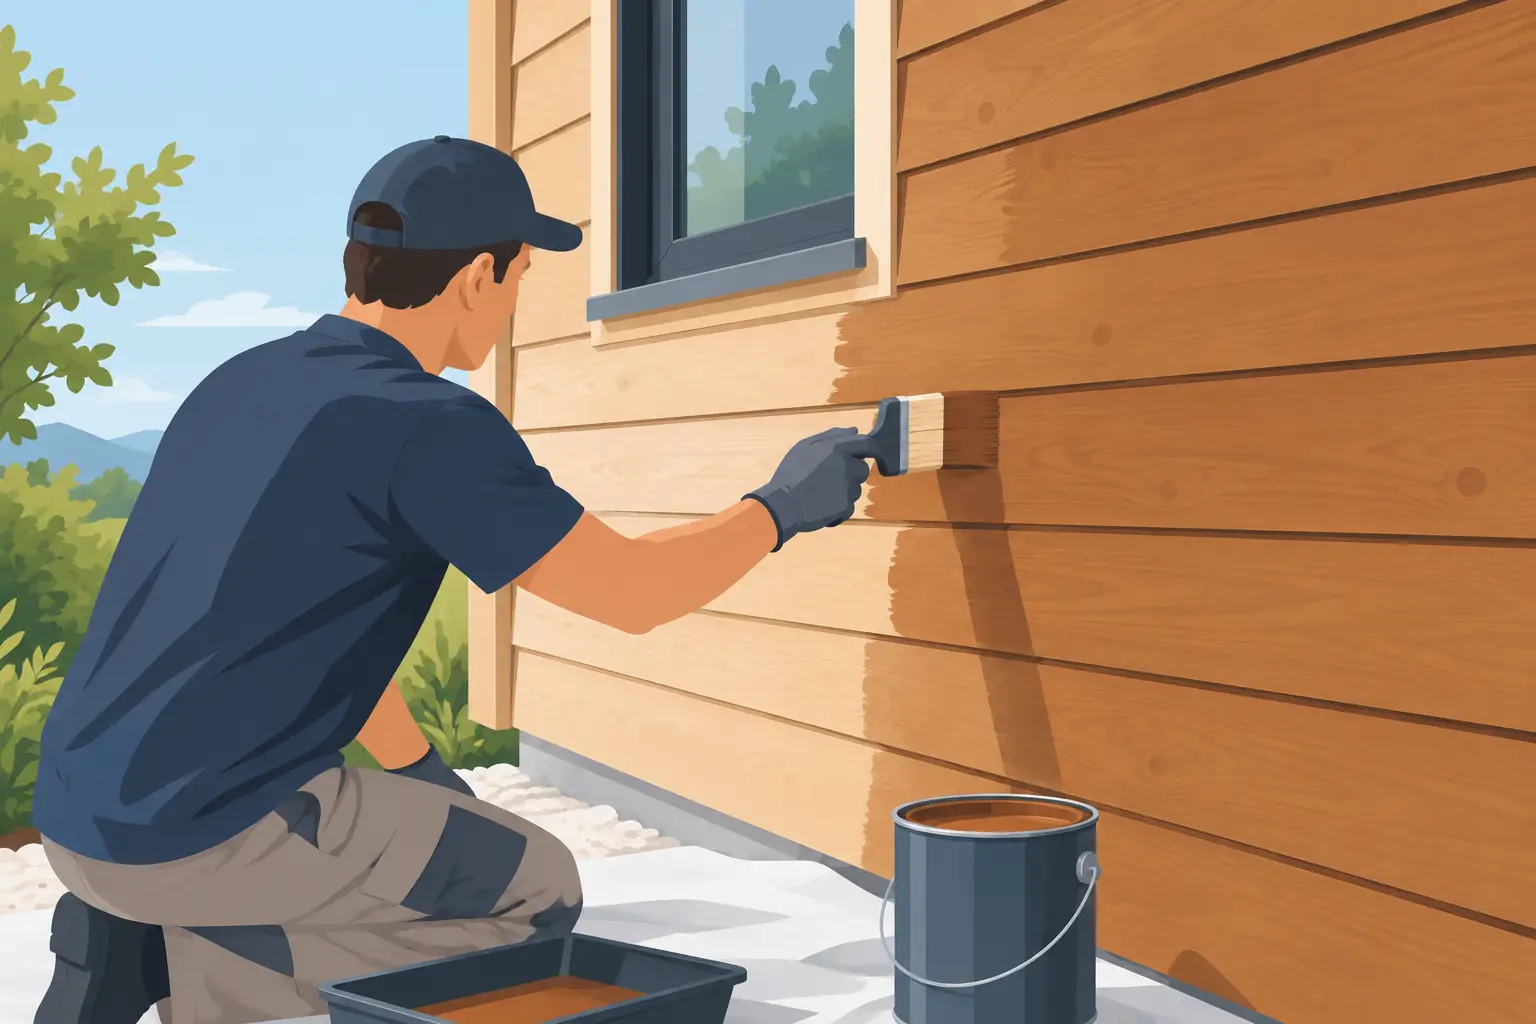
Brushes are essential for cutting in, coating board edges, and working paint into joins, corners, and profiles. Rollers can cover broad flat boards efficiently, but they should not be used as a shortcut around detailed sections. On some projects, spray application provides an even finish and efficient coverage, particularly across larger elevations. It still requires back-brushing or back-rolling where needed, along with careful masking and experienced control.
Apply paint evenly in the direction of the grain or board profile. Keep a wet edge where possible to reduce lap marks, and avoid stretching the paint too thinly to make it go further. Two full topcoats are usually required for dependable coverage, color consistency, and weather resistance. A single heavy coat is not equivalent to two properly applied coats, and it is more likely to sag, skin over, or dry unevenly.
Respect drying and recoating times. Paint that feels dry to touch may not be ready for another coat. Rushing this stage can trap solvents or moisture and weaken the final finish.
Common Shortcuts That Lead to Early Failure
The most common problems are usually preventable. Painting over damp timber, applying paint to dirty or salty cladding, and failing to sand peeling edges all reduce adhesion. So does ignoring small areas of rot or leaving bare end grain unprimed.
Another mistake is treating every surface the same. Weatherboard profiles, vertical shiplap, tongue-and-groove boards, and rough-sawn cladding each hold paint differently and have their own vulnerable points. Rough timber may require more paint to achieve full coverage, while tight joints need care so paint does not bridge gaps that need to move or drain.
Finally, do not judge the work only from a few steps away. Check the cladding from different angles while the coating is still workable. Look for misses along board edges, thin patches, drips beneath joins, and paint build-up in corners. A final inspection in natural daylight gives the best view of the finish.
Plan for Ongoing Care
Even the best exterior paint system needs basic maintenance. Wash cladding periodically to remove dust, salt, and organic buildup, especially on sheltered walls that receive less sun. Keep gutters clear, address leaks promptly, and trim vegetation away from the boards so moisture does not remain trapped against the surface.
Walk around the property at least once a year and look for early signs of wear. A small repair to a cracked sealant joint or damaged board edge is straightforward. Left untreated, it can allow water behind the paint film and turn into a larger repair.
Timber cladding rewards careful work. When the surface is repaired, dry, properly primed, and coated with attention to every edge and join, the result is more than a refreshed exterior. It is a finish that protects the home while keeping its character clear for years to come.