
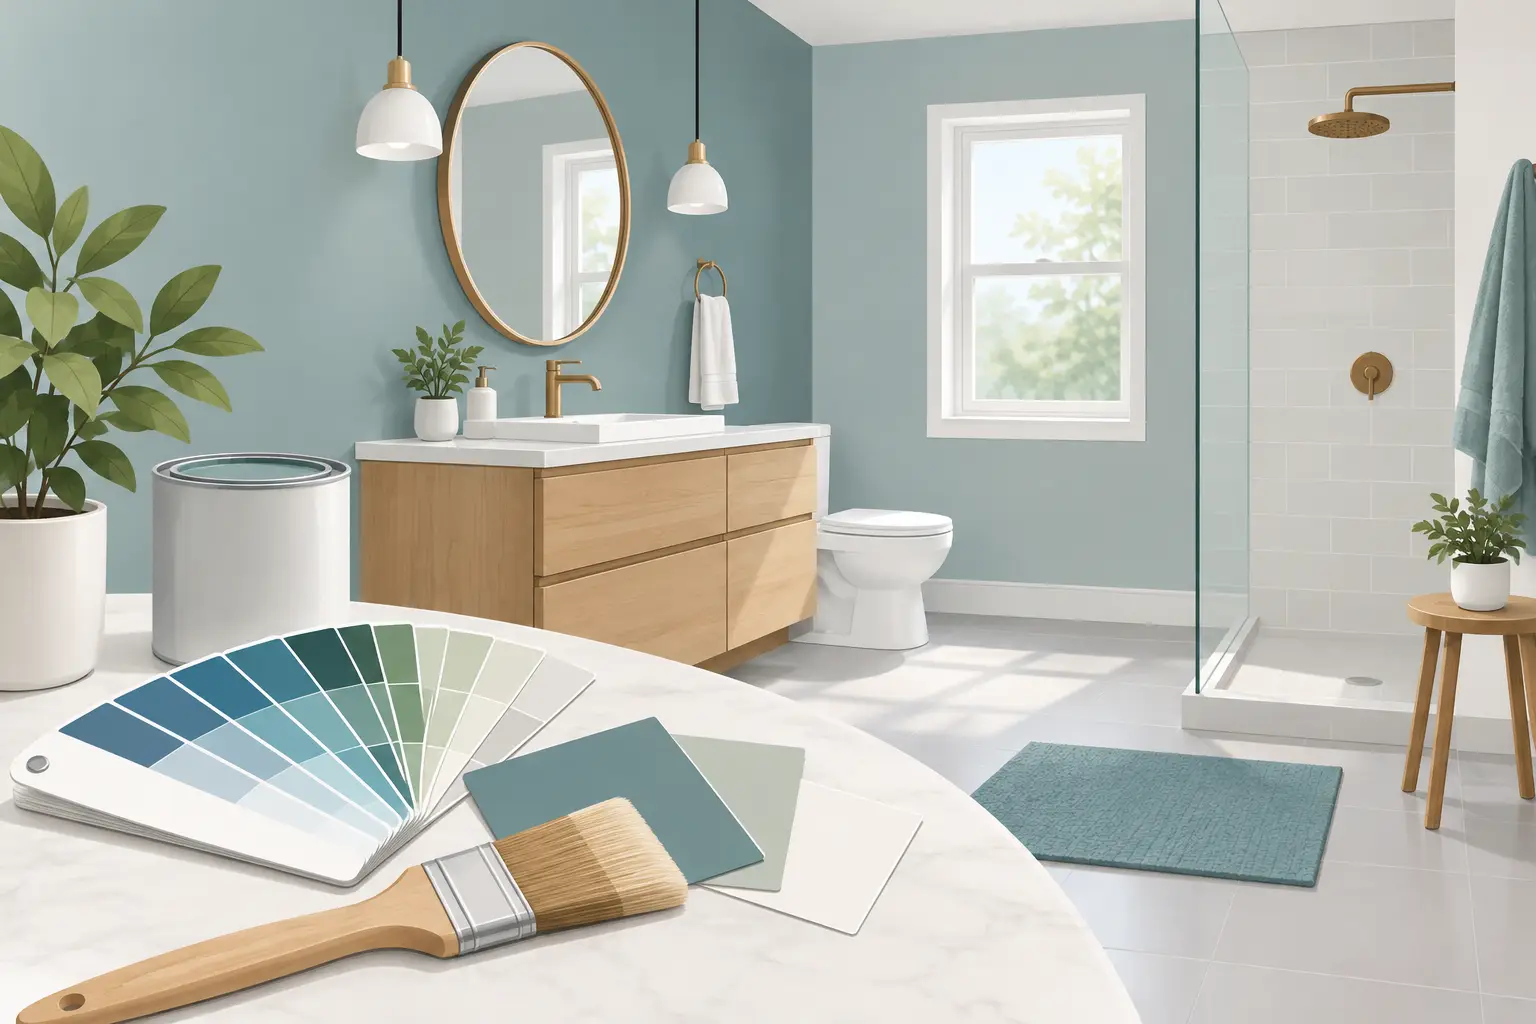
A bathroom can look freshly renovated after a coat of paint, then show peeling edges, mildew spots, or dull patches far sooner than expected. The difference is rarely just the paint color. Knowing how to select bathroom paint means accounting for moisture, steam, cleaning habits, ventilation, and the condition of the walls before the first brush is loaded.
For a finish that stays clean and polished, choose the system rather than only the color: the right paint product, the right sheen, proper preparation, and a practical plan for the room’s daily humidity.
How to Select Bathroom Paint for Humid Rooms
Bathrooms create more moisture than most other rooms in a home. Hot showers put water vapor into the air, and that vapor settles on ceilings, walls, window frames, and fittings. In compact bathrooms, en suites, and powder rooms without strong extraction, the effect is even greater.
Start with a premium interior paint designed for kitchens, bathrooms, or other high-moisture areas. These products are generally formulated with a tighter, more washable finish and better resistance to mildew than standard wall paint. A quality water-based acrylic is usually the practical choice for most bathroom walls. It has low odor, dries efficiently, is easier to clean up, and remains flexible enough to handle normal movement in the home.
Do not assume that any paint labeled “washable” is automatically suited to a shower-filled room. Check that it is intended for humid interior spaces and follow the manufacturer’s advice on primers, coats, drying time, and cure time. A paint can be excellent, but it cannot perform as intended if steam is trapped in the room every day or if it is applied over unstable surfaces.
For homes close to the coast, such as those across Sydney’s Northern Beaches, ventilation and material selection deserve extra attention. Humid outdoor air, salt carried through open windows, and daily shower steam can make a bathroom work harder than a dry inland room.
Choose a Sheen That Balances Cleaning and Appearance
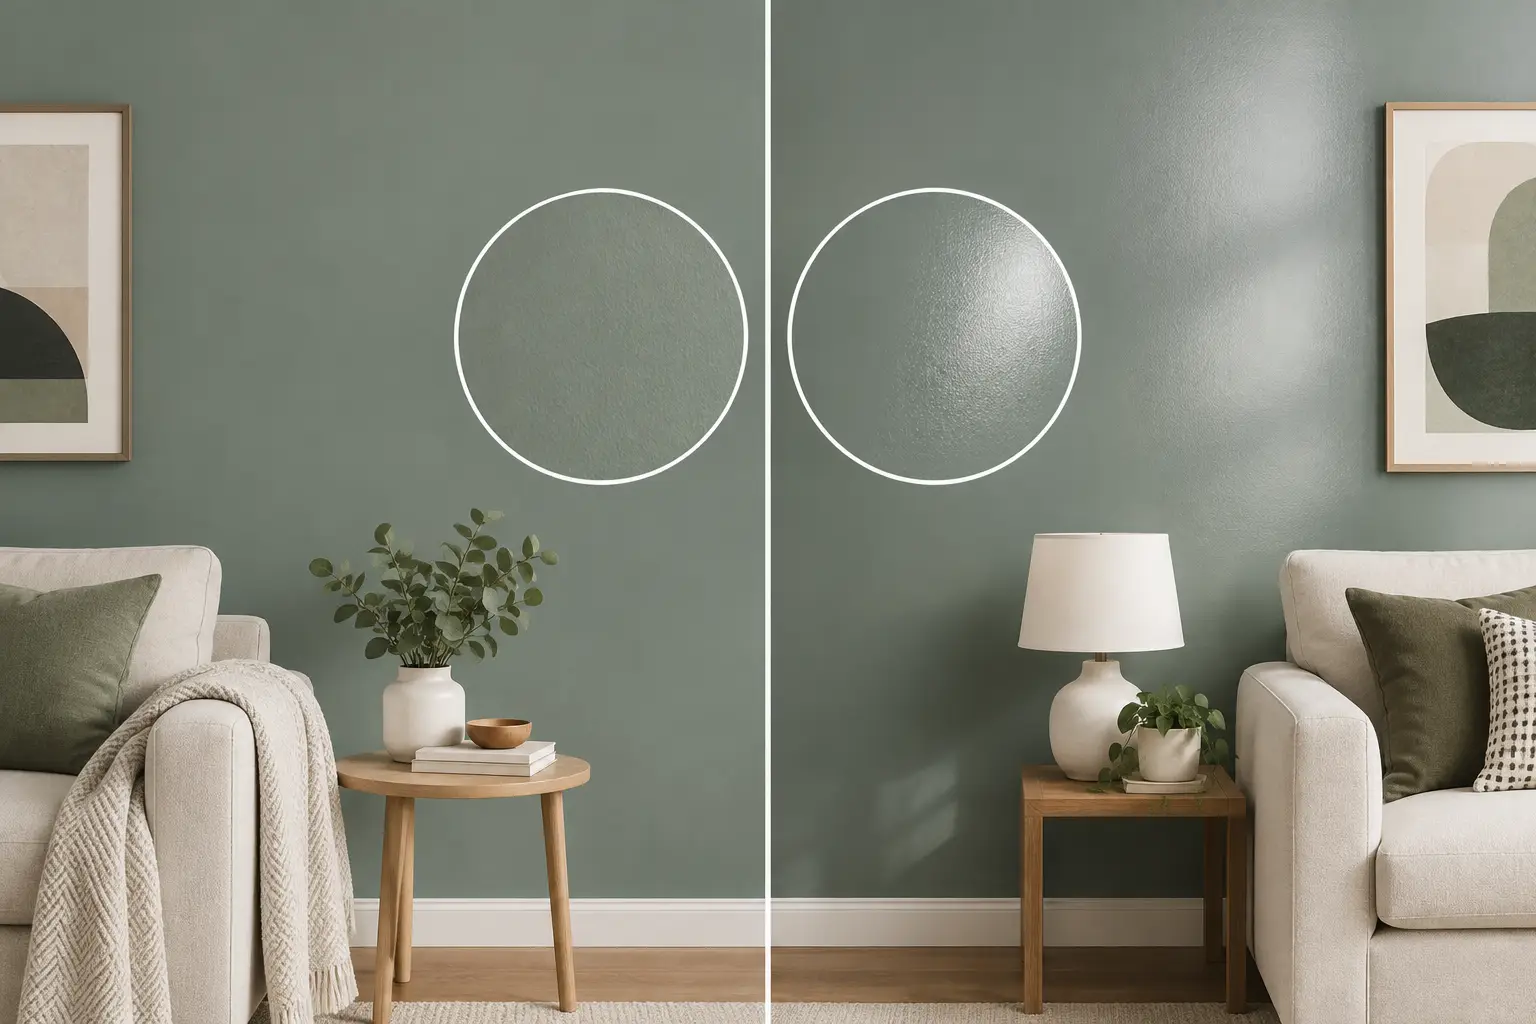
Sheen describes how much light a painted surface reflects. It has a major effect on both maintenance and the way a bathroom looks. Glossier finishes are generally more resistant to moisture and easier to wipe clean, but they also reveal dents, patching, roller marks, and uneven plasterwork.
Satin is often the best all-around option for bathroom walls. It offers a soft, understated shine, has good washability, and stands up well to routine cleaning. It works especially well in family bathrooms, rental properties, and rooms where splashes around the vanity are common.
Semi-gloss is a strong choice for trim, doors, baseboards, and window frames. These areas receive frequent contact and benefit from a tougher, more washable finish. In a very small, poorly ventilated bathroom, semi-gloss can also be considered for walls, provided the wall surfaces are smooth and carefully prepared. Its stronger shine may feel too reflective in a larger or more design-led bathroom.
Matte and flat paints are usually best avoided on bathroom walls. They can look refined and help disguise minor surface imperfections, but many standard flat paints mark easily and are less forgiving around condensation or splashes. Some premium bathroom-specific matte products are exceptions, but the product specification matters more than the sheen name alone.
For ceilings, a moisture-resistant bathroom ceiling paint in a low-sheen or matte finish is often preferred. A ceiling does not need the same scrub resistance as a wall, and a lower sheen helps prevent glare from overhead lighting. What it does need is reliable resistance to condensation and mildew.
Match the Paint System to the Surface Condition
Paint adheres only as well as the surface beneath it. This is where many bathroom paint jobs succeed or fail. A wall that looks acceptable at first glance may have soap residue, hairline cracking, loose old paint, or early mildew growth that needs attention before painting begins.
First, identify the substrate. Standard painted plasterboard requires a different approach from bare plaster, previously wallpapered walls, timber trim, or tiled areas. Paint is not a substitute for repairing water damage, failed grout, leaking pipework, or loose bathroom sealant. If moisture is getting behind the wall surface, a new coat will only hide the issue temporarily.
Any mildew should be properly cleaned and treated before painting. Simply painting over staining can allow it to return through the new finish. Surfaces should then be washed to remove soap, body oils, hairspray, and cleaning-product residue. Once dry, sanding creates a light key for adhesion and helps blend small repairs.
A suitable primer is essential when walls are bare, patched extensively, stained, powdery, or changing dramatically from a dark color to a light one. Primer helps create an even base so the topcoats look consistent and bond securely. On older bathrooms, careful filling and sanding are particularly worthwhile because a satin or semi-gloss finish will make every uneven repair more visible.
Consider Where Water Actually Lands
Not every painted bathroom wall faces the same conditions. The wall beside a vanity, the area near a bathtub, and the ceiling above a shower are exposed to far more moisture than a wall opposite the door. That does not necessarily mean every surface needs a different paint, but it should shape the finish and preparation choices.
Paint should not be used as a substitute for tile, waterproof wall lining, or another approved wet-area material inside a shower enclosure. Direct-spray zones need a surface designed for constant wetting. Around tubs and vanities, well-prepared bathroom paint can perform very well, provided joints are sealed correctly and standing water is wiped away.
Pay close attention to caulk lines around trim, splashbacks, and fixtures. Cracked or missing caulk allows moisture into gaps where paint cannot protect the underlying material. Use a paintable, bathroom-appropriate sealant where needed, and allow it to cure before painting.
Select Color With Light, Size, and Maintenance in Mind
Bathroom color has a practical side as well as a decorative one. Small bathrooms often benefit from light, warm neutrals, soft whites, pale greens, or muted blues because they reflect available light and make the room feel more open. But bright white is not the only answer. A deeper blue, green, charcoal, or clay tone can create an intentional, hotel-like finish when paired with good lighting and lighter fittings.
Look at paint samples in the actual bathroom at different times of day. Natural light, warm vanity lighting, tile undertones, mirrors, and chrome or brass fixtures can all change the way a color reads. A gray that looks calm in a store may appear blue beside white tile, while a creamy white may look more yellow under warm bulbs.
Also consider maintenance. Very dark walls can show dried water spots, toothpaste splashes, and lint more readily. Very bright whites can highlight grime around switches and door frames. Mid-tone and softly muted colors are often forgiving choices for busy bathrooms, especially in homes with children or in rental properties.
Do Not Overlook Ventilation and Drying Time
Even the best bathroom paint needs the room to dry out after use. Use the exhaust fan during showers and leave it running afterward long enough to remove lingering steam. If there is a window, opening it when conditions allow can also help. Persistent condensation on mirrors, windows, or the ceiling is a sign that ventilation may need improvement.
Drying conditions matter during the painting project as well. Bathrooms should be clean, dry, and well ventilated, but not exposed to excessive drafts that cause coatings to dry unevenly. Follow recoat times carefully. Paint may feel dry to the touch within hours, yet still need days to fully cure. Avoid long, steamy showers and aggressive cleaning until the coating has reached its recommended cure period.
A Professional Finish Comes From Preparation
Choosing the right can of paint is only one part of a durable result. Clean protection of floors and fixtures, detailed surface repairs, correct primers, even application, and tidy final cleanup all influence the finish you see every day. Thin spots, rushed cutting-in, or skipped preparation are more noticeable in bathrooms because moisture and lighting expose small flaws quickly.
When a bathroom has peeling paint, recurring mildew, staining, or damaged plaster, professional assessment can prevent the cost of repainting too soon. A skilled painter can identify whether the issue is poor adhesion, excess moisture, an underlying repair problem, or an unsuitable previous coating, then recommend a system that fits the room.
The best bathroom paint choice should feel good long after the color sample has been chosen: smooth to clean, calm under the lights, and dependable through years of busy mornings and steamy evenings.