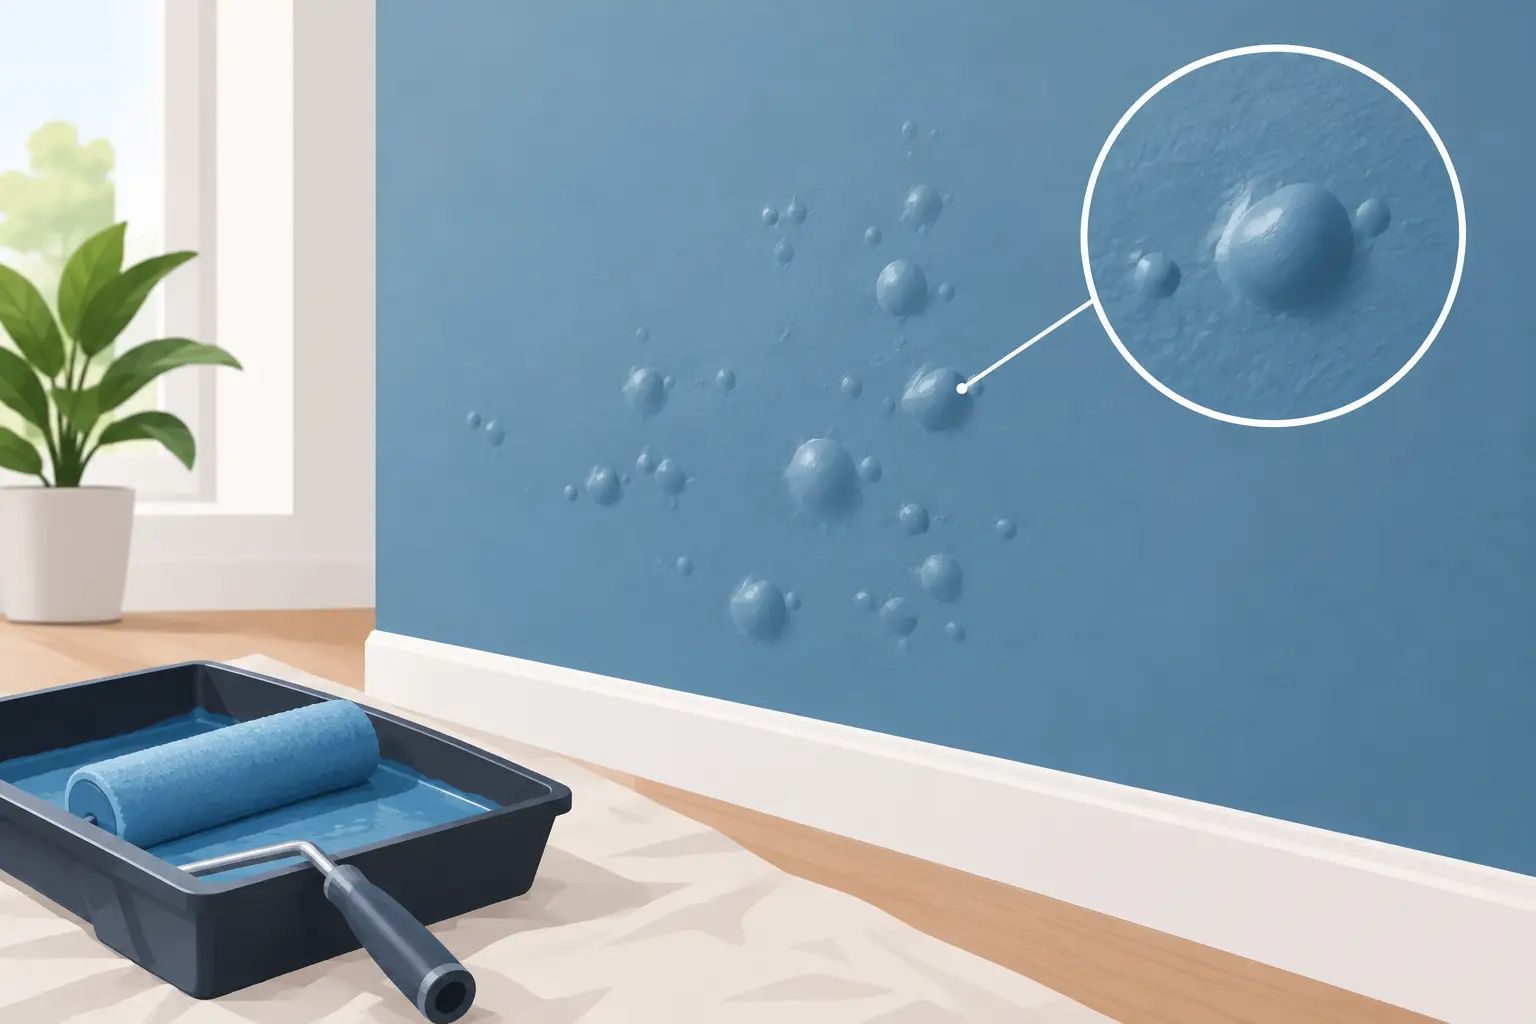

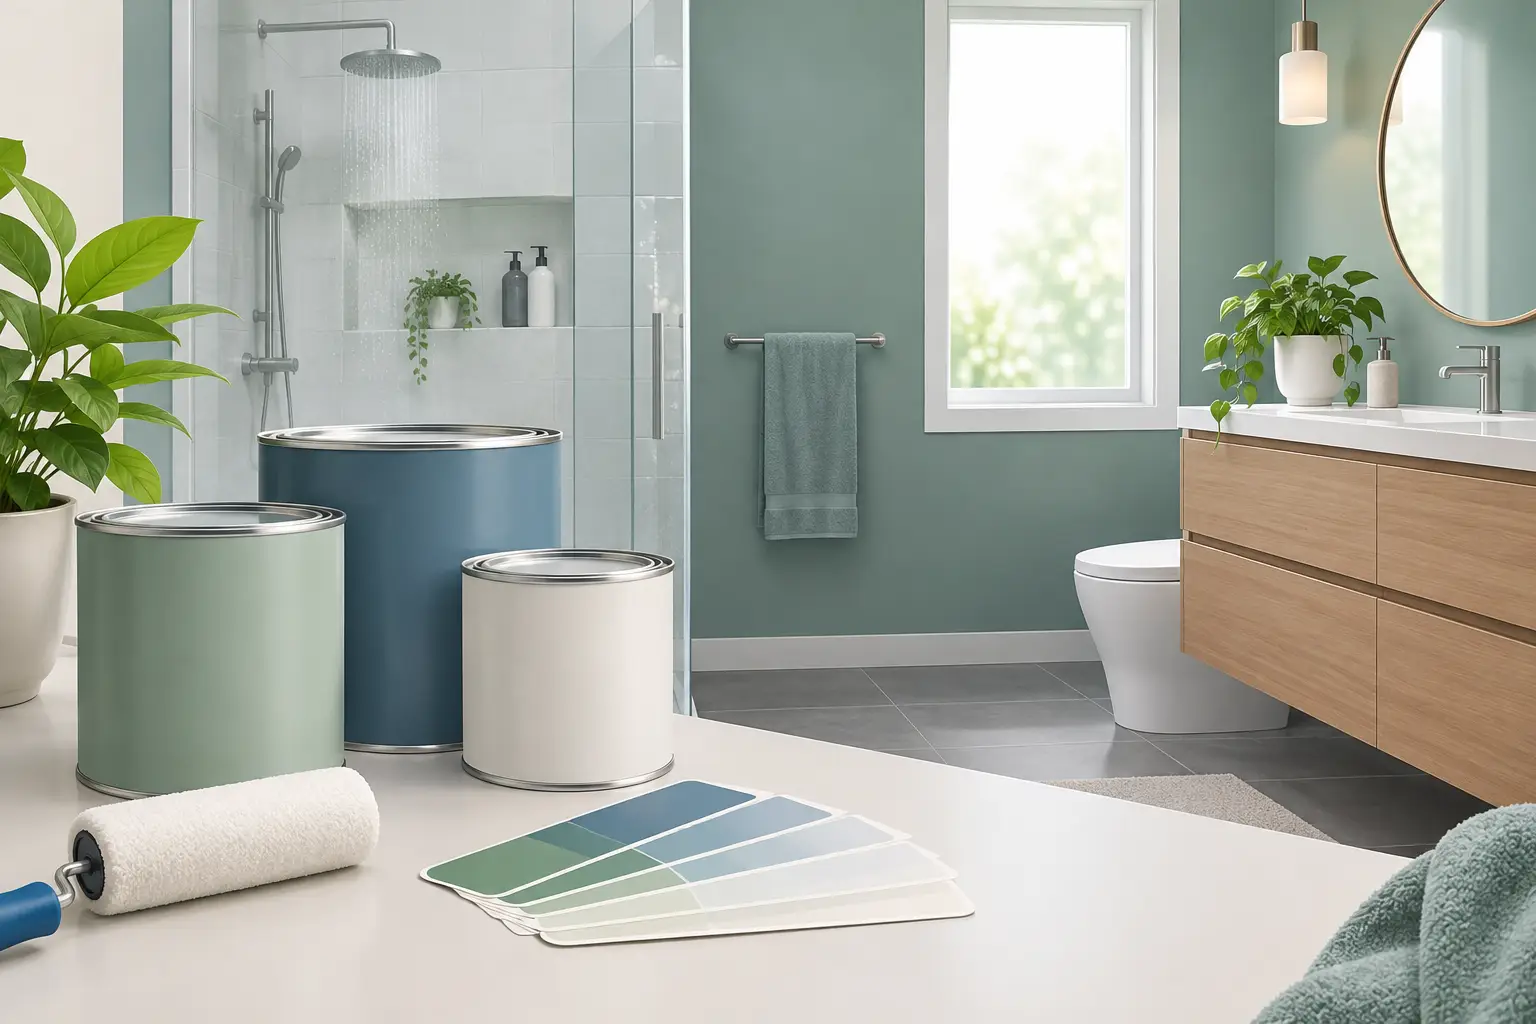
A bathroom can look freshly painted on Friday and show peeling around the shower, bubbling on the ceiling, or dark mildew spots within a few months. The difference is rarely just the paint color. Choosing the best paints for humid bathrooms means matching the coating, sheen, and preparation work to a room that regularly deals with steam, condensation, splashes, and limited airflow.
For a finish that stays clean and polished, treat bathroom painting as a moisture-management project, not a quick cosmetic update. The paint matters, but the condition of the surface underneath it matters just as much.
What Makes Bathroom Paint Different?
Every painted surface absorbs a degree of wear, but bathrooms face a concentrated mix of moisture and heat. A hot shower sends steam into the air, where it settles on cooler walls and ceilings. Over time, that repeated condensation can soften inferior paint films, feed mildew growth, and expose weak adhesion.
A quality bathroom paint is formulated to form a tighter, more washable film than standard low-cost wall paint. It should tolerate frequent cleaning, resist moisture penetration, and hold up without becoming tacky or discolored. In bathrooms with a shower or bathtub, these qualities are worth paying for.
Ventilation still matters. Even excellent paint cannot compensate for an exhaust fan that is too small, clogged, or rarely used. If moisture remains on the walls for hours after every shower, any coating will have a shorter service life.
The Best Paints for Humid Bathrooms
For most residential bathrooms, a premium 100% acrylic latex paint designed for kitchens and bathrooms is the strongest all-around choice. It provides good adhesion, flexibility, washability, and moisture resistance while keeping odor and drying times more manageable than many oil-based products.
Look for paint labeled for bathroom, kitchen, wet-area, or high-humidity use. These products often include mildewcides in the dried paint film and are designed to stand up to regular wiping. That does not mean they prevent mold caused by water leaks or persistent dampness, but they offer better protection in normal bathroom conditions.
Premium acrylic latex paint
High-quality acrylic latex paint is usually the right choice for bathroom walls, trim, and many ceilings. It handles humidity well, cleans easily, and is available in low-sheen finishes that give bathrooms a refined look without making every wall imperfection obvious.
The key word is premium. Budget paint may appear to cover well initially, yet its film can be less durable once steam and cleaning products enter the picture. A better-quality coating generally applies more evenly, provides stronger coverage, and retains its finish for longer.
Mold-resistant bathroom paint
Mold-resistant paint is particularly useful in bathrooms without windows, powder rooms with limited ventilation, and apartments where moisture lingers. It contains additives that help discourage mildew from developing on the paint surface.
It should not be used to paint over existing mold. Any visible growth needs to be properly cleaned and the source of moisture addressed first. Painting over mildew without surface treatment is likely to lead to staining and recurrence, no matter how good the topcoat is.
Moisture-resistant ceiling paint
Bathroom ceilings are often the first area to fail because warm, damp air rises and condenses overhead. Use a quality acrylic ceiling paint rated for kitchens, bathrooms, or humid spaces rather than a basic flat ceiling paint.
A matte or flat finish can still work beautifully on a ceiling, provided it is a washable, moisture-resistant product. The lower sheen helps conceal small repairs and unevenness, which is especially useful under downlights or strong natural light.
Cabinet and trim paint for bathroom joinery
Bathroom vanities, window frames, door frames, and skirting boards need a tougher finish than drywall. Use a durable acrylic enamel or a trim paint formulated for high-traffic interior surfaces. These products cure to a harder film that is better able to handle fingerprints, splashback, cleaning, and daily use.
For timber cabinetry, proper sanding and priming are essential. If the vanity has peeling laminate, water damage around the basin, or swelling at the edges, painting alone may not deliver a lasting result until those repairs are completed.
Choose the Right Sheen for Each Surface
Sheen is not just a design choice in a bathroom. It affects how easily a surface can be cleaned and how clearly it reveals imperfections.
For bathroom walls, satin is often the most practical option. It has a soft, low-luster appearance while offering reliable washability and moisture resistance. It suits most family bathrooms, ensuites, and powder rooms.
Eggshell can work in well-ventilated bathrooms where a softer appearance is preferred, but it is slightly less forgiving around frequent splashes and heavy cleaning. It is a reasonable choice for walls away from the shower area, particularly when the bathroom has strong extraction.
Semi-gloss is highly durable and easy to wipe, making it a dependable finish for trim, doors, and cabinetry. On walls, though, it can highlight patching, dents, roller marks, and uneven plaster. Unless the wall preparation is excellent, satin usually creates the more polished result.
Use a moisture-rated flat or matte paint on the ceiling. A standard flat paint may hide imperfections, but it can absorb moisture and become marked or patchy over time.
Preparation Is What Keeps Paint From Peeling
The best bathroom paint will only perform as well as the surface beneath it. Preparation is where a durable finish is won or lost.
First, identify the cause of any damage. Peeling paint near a shower may point to poor ventilation, repeated direct water exposure, a failed shower screen seal, or a plumbing leak. Brown stains, soft drywall, and recurring bubbles should be investigated before painting begins.
Surfaces should be washed to remove soap residue, body oils, hairspray, and cleaning-product buildup. In humid bathrooms, this step is frequently underestimated. Paint applied over invisible residue can lose adhesion even when the wall appears clean.
Loose and flaking paint must be scraped back to a sound edge, then sanded smooth. Cracks, dents, and damaged areas should be repaired, allowed to dry fully, and sanded before priming. Any bare plaster, repaired drywall, stained area, or exposed timber needs the appropriate primer so the final coats dry evenly and bond correctly.
If mold is present, clean it safely with a suitable mold treatment and allow the surface to dry completely. Do not paint while the wall feels cool or damp. Moisture trapped beneath a new coating is a common reason for bubbling and early failure.
Application Details That Make a Visible Difference
Bathroom paint benefits from careful application, not rushed coats. Cut in neatly around tiles, fixtures, and fittings, then use a quality roller suited to smooth interior walls. A consistent roller technique helps avoid lap marks and patchy sheen.
Two finish coats are generally the right approach, particularly when changing color, covering repairs, or painting over a previously glossy surface. Follow the product’s recommended recoat time rather than judging dryness by touch alone. Paint can feel dry on the surface while remaining soft underneath.
Give the paint time to cure before exposing it to heavy steam. Running hot showers immediately after painting can interfere with the early curing process. Keeping the exhaust fan running and leaving the bathroom door open when practical will help the room dry out.
When a Standard Bathroom Paint Is Not Enough
The shower enclosure itself is a different environment. Painted drywall or plaster should not be used as a substitute for waterproof tile, proper wet-area lining, or a suitable shower wall system. Any surface receiving direct, repeated spray needs materials designed for that exposure.
Likewise, paint cannot repair structural water damage. If a ceiling is sagging, stains keep returning, or paint repeatedly peels from one area, the underlying moisture source should be resolved first. This is especially relevant in apartments, where a leak may originate from plumbing above or an adjoining unit.
For older bathrooms in coastal Northern Beaches homes, salt-laden air and open windows can add another layer of wear. Selecting quality materials, sealing repairs correctly, and maintaining good airflow helps protect the finish between repainting cycles.
A professional painter can assess whether the issue is simply an aging paint film or whether repairs, stain blocking, specialist priming, or ventilation improvements are needed before the first coat is applied. Sharp Painting Services approaches bathroom projects with that full-surface view, protecting surrounding fixtures and flooring while delivering a clean, durable finish.
The right paint should make a bathroom easier to live with, not simply nicer to photograph on day one. Choose a moisture-resistant acrylic product, prepare every surface thoroughly, and give the coating the curing time it deserves. Those practical decisions are what keep the room looking fresh long after the steam has cleared.