
A wall can look freshly painted in the morning and develop small raised blisters by the afternoon. If you are asking, why do painted walls bubble, the paint itself is rarely the whole problem. Bubbling usually means moisture, trapped air, contamination, or poor adhesion has prevented the coating from bonding properly to the surface beneath it.
The right response depends on what is happening behind the paint. Some bubbles are a minor application issue that can be repaired once the wall is dry. Others are an early warning of a leaking pipe, water intrusion, or dampness that needs attention before any repainting begins.
What paint bubbling actually means
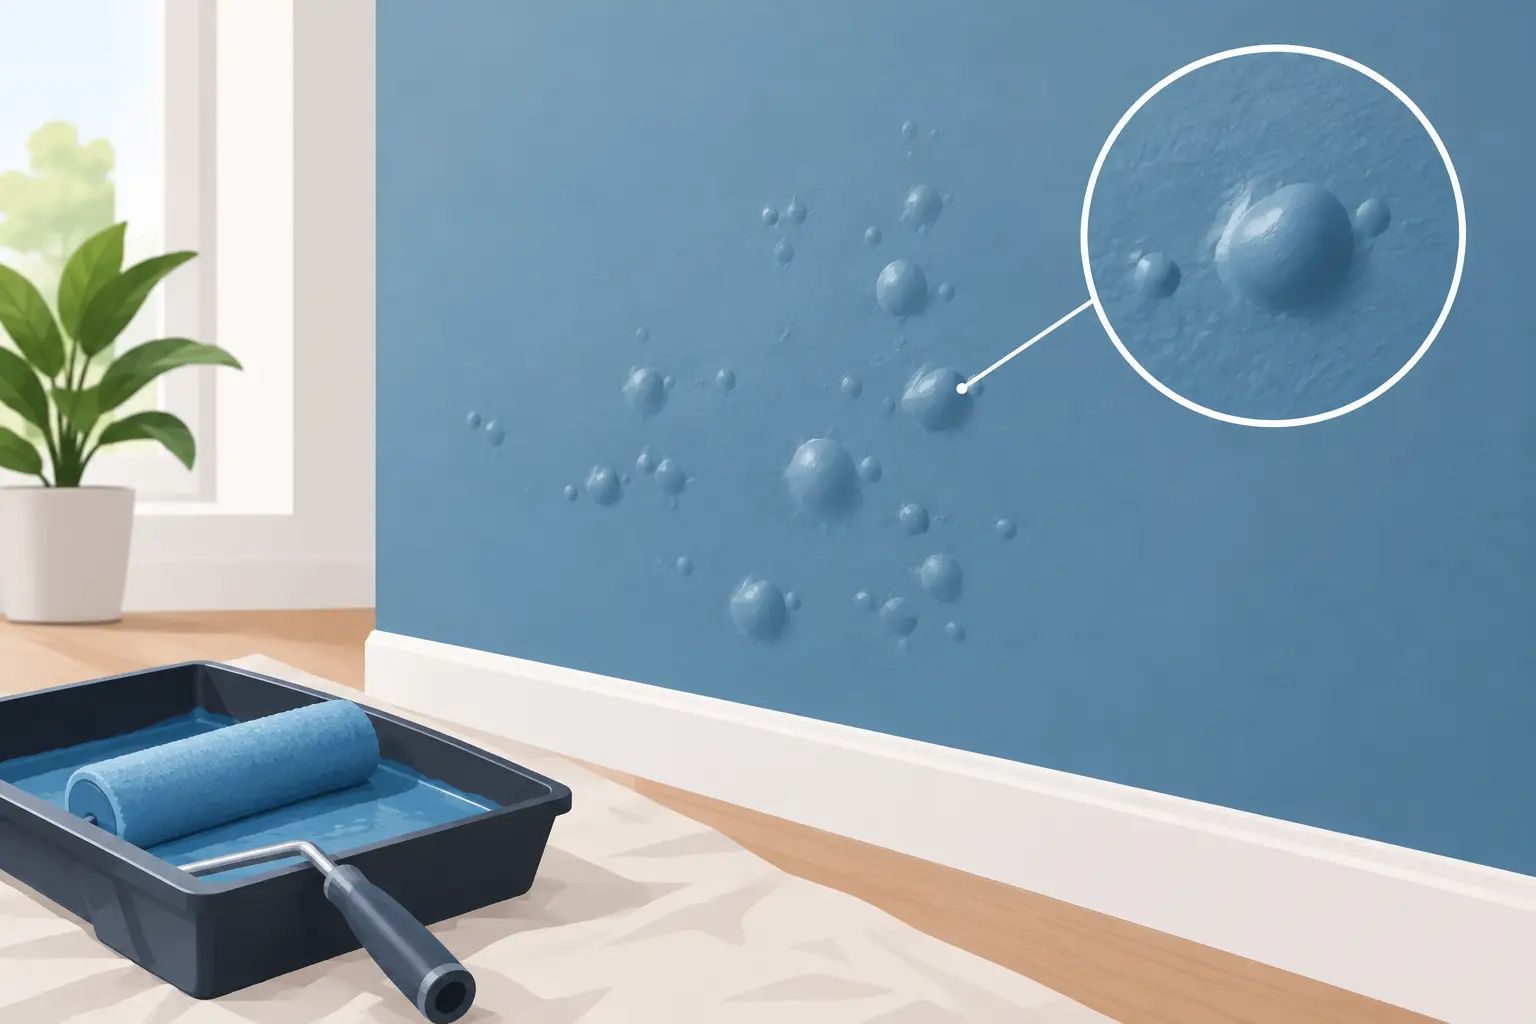
Paint bubbles, also called blisters, are raised pockets where the paint film has lifted away from the wall, ceiling, or a previous coat. They may feel soft when pressed, appear as isolated circles, or spread into larger peeling sections over time.
A bubble forms when something pushes against the paint from underneath or stops it from adhering. That can be water vapor escaping through a wall, moisture trapped beneath a new coat, air caught in the roller application, or residue left on the surface. Once the bond is compromised, simply painting over the affected patch will not deliver a lasting finish.
It is worth distinguishing bubbling from ordinary roller texture. Light, even texture across a wall can be normal, particularly with certain roller naps and finishes. Random blisters, raised circles, cracking, or paint that feels loose are signs of a paint failure.
Why do painted walls bubble? The most common causes
Moisture behind or beneath the paint
Moisture is the most serious and common cause of paint bubbling. A leaking roof, plumbing issue, failed shower seal, overflowing gutter, cracked exterior render, or water entering around a window can dampen plaster, drywall, timber, or masonry. As that moisture tries to evaporate, it can force the paint away from the surface.
Bathrooms, laundries, kitchens, and ceilings below upper-level bathrooms are frequent trouble spots. In coastal Northern Beaches homes, driving rain, salt-laden air, and high humidity can also expose weaknesses around external walls, windows, and rooflines.
Signs that moisture is the likely cause include yellow or brown staining, a musty odor, soft wall material, recurring bubbles in the same place, or paint failure that worsens after rain or a shower. If you see these signs, locate and repair the moisture source first. Repainting a damp wall may improve its appearance briefly, but the bubbling will return.
Painting over a damp surface
Not every moisture issue comes from a leak. Walls can remain damp after cleaning, patching, water damage repairs, or humid weather. Fresh plaster, joint compound, masonry, and some repair fillers also need adequate drying time before primer or paint is applied.
A wall may feel dry to the touch yet still hold moisture below the surface. Applying paint too soon seals that moisture in. As conditions warm up, the trapped vapor expands and can create blisters.
This is why professional preparation includes allowing repaired areas to dry fully, not just working to a tight schedule. Drying time varies with the material, room ventilation, temperature, humidity, and the extent of the repair.
Poor surface preparation
Paint needs a clean, stable surface to bond correctly. Dust from sanding, cooking grease, smoke residue, soap film, oils from hands, waxy cleaning products, and airborne contaminants can all interfere with adhesion.
A common example is a kitchen wall that looks clean but has a thin layer of grease near the cooktop. Another is a bathroom wall with residue from cleaners or hair products. If paint is applied over those contaminants, it may bubble, peel, or pull away in sheets when exposed to steam and regular cleaning.
Loose old paint creates a similar problem. A new coat can only adhere as well as the old coating underneath it. If the existing paint is lifting, chalking, or poorly bonded, fresh paint may initially look smooth before failing along with the unstable layer below.
The wrong primer or incompatible paint system
Primer is not an optional extra on every project, but it is essential in many situations. Bare drywall repairs, fresh plaster, stained walls, glossy surfaces, patched areas, and dramatic color changes often need the right primer to create an even, dependable base.
Skipping primer can lead to uneven absorption and weak adhesion. Using an incompatible coating system can also cause problems. For example, applying a water-based product over a poorly prepared glossy oil-based finish may result in paint that lifts or bubbles. The solution is usually thorough cleaning, sanding to create a sound profile, and applying a suitable bonding primer before the finish coats.
Applying paint too heavily or too quickly
Heavy coats are tempting because they seem like a faster path to full coverage. In practice, thick paint can skin over on the surface while the layer underneath remains wet. As solvents or water escape during drying, bubbles may form.
Painting the next coat before the previous one has dried and cured as directed can produce the same result. Drying times on a label are based on reasonable conditions. Cool rooms, humid days, limited airflow, and heavy application can all extend those times.
A quality finish is built with properly loaded rollers, controlled application, and enough time between coats. Thin, even coats usually last better than one overloaded coat, even when the paint is premium quality.
Heat, direct sun, and poor painting conditions
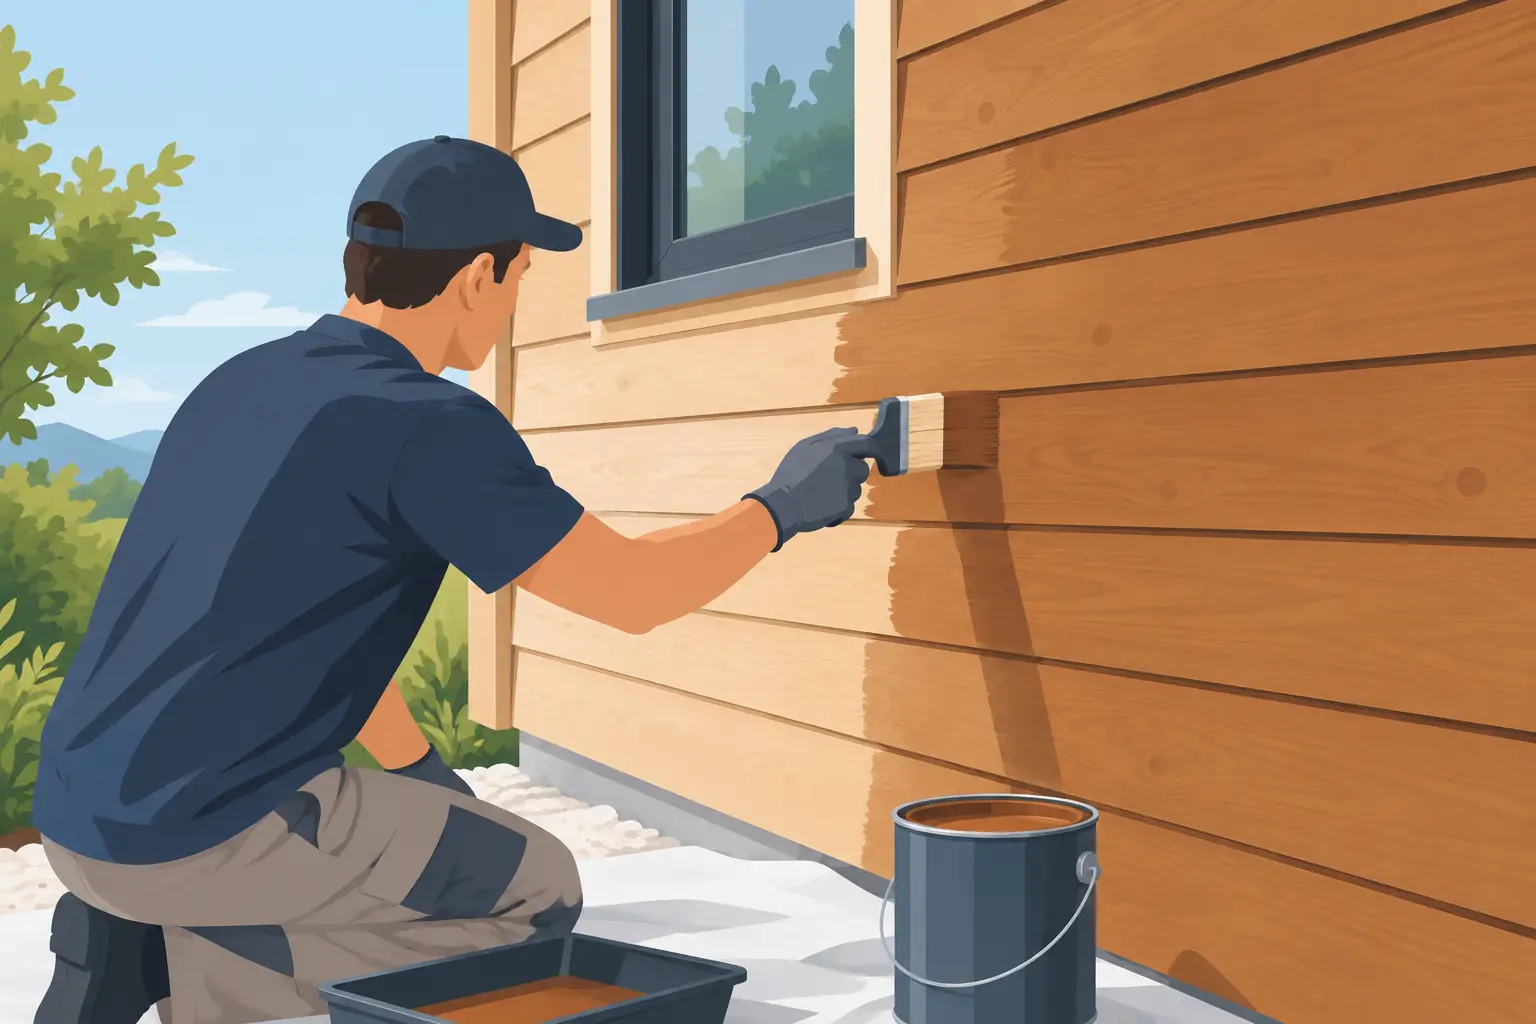
Exterior paint can blister when it is applied to a hot surface or placed in direct, intense sunlight before it has time to bond. The top layer dries too quickly, trapping moisture or solvents below. Interior walls can face a similar issue near large sun-facing windows, heaters, or poorly ventilated spaces.
Conditions matter as much as technique. Temperature, surface temperature, humidity, rain risk, and airflow should all be considered before starting. This is especially relevant for exterior work, where a wall can be far hotter than the surrounding air temperature.
How to tell whether the problem is minor or urgent
Start by looking at the pattern. Small bubbles that appear soon after painting across a dry, otherwise sound wall may point to application technique, heavy coats, or insufficient drying time. A few localized bubbles around a patch repair can indicate that the filler or substrate was not fully dry.
Bubbles accompanied by stains, dampness, mold, crumbling plaster, or a spreading area of peeling need more investigation. Do not puncture and repaint these areas as a permanent fix. Check nearby plumbing, roof spaces, windows, shower walls, gutters, and exterior cracks. If the cause is not obvious, a qualified trade professional should assess it before painting resumes.
For commercial spaces and strata properties, early action is particularly worthwhile. Water damage can move behind wall linings or through multiple units, turning a small paint defect into a larger maintenance issue.
How to repair bubbled paint correctly
Repair begins only after the wall is confirmed dry and the underlying cause has been fixed. Rushing this stage is the main reason the same defect reappears.
First, remove all loose or bubbled paint with a scraper. The goal is to reach firm, well-bonded edges, not merely flatten the visible blister. Feather-sand the edges so the repair blends into the surrounding wall, then remove sanding dust completely.
Inspect the exposed surface. If there is staining, water damage, powdery material, mold, or deteriorated plaster, address that condition before moving on. Small cracks and shallow imperfections can be filled, sanded smooth, and allowed to dry. Larger damaged areas may need patching or replacement rather than cosmetic filling.
Apply a primer suited to the surface and the problem being addressed. A stain-blocking primer may be needed after water marks, while a bonding primer is often appropriate for difficult or glossy surfaces. Once the primer has dried as directed, apply two even finish coats with suitable drying time between them.
The repaired section may need painting from corner to corner rather than as a small spot patch, particularly on walls with a low-sheen finish. This helps avoid a visible difference in sheen or texture.
Preventing bubbles on your next painting project
Long-lasting paintwork comes down to preparation, product selection, and patience. Clean walls thoroughly, remove loose coatings, repair imperfections, and allow every repaired or washed area to dry fully. Use primer where the surface calls for it, rather than relying on a paint-and-primer label to solve every condition.
Choose finishes appropriate to the room. Washable low-sheen or satin products can suit busy interiors, while bathrooms and laundries benefit from coatings designed to handle moisture and regular cleaning. Good ventilation also matters. Exhaust fans should vent effectively, and steam-heavy rooms should be aired after use.
For exterior surfaces, deal with failing sealant, cracked render, timber deterioration, and drainage issues before painting. Quality materials are valuable, but even the best paint cannot compensate for an unstable or wet substrate.
When bubbling is limited and the cause is clear, a careful repair can restore the wall beautifully. When it points to moisture or widespread coating failure, taking the time to diagnose the issue protects both the finish and the property. A properly prepared surface gives paint the stable foundation it needs to look clean, smooth, and durable for years.