
Peeling paint is more than a cosmetic problem. Once the coating loses its grip, bare timber, masonry, or metal is exposed to moisture, sun, and salt air. Knowing how to repaint peeling exterior surfaces properly means finding out why the failure happened first, then rebuilding the paint system from a sound base. Skipping that preparation may make the house look better briefly, but the new finish can peel right along with the old one.
For homes in coastal areas, exterior paint works hard. Strong UV exposure, driving rain, humidity, and airborne salt can all shorten the life of a coating. A careful repair protects the property as well as improving its street appeal.
Start by Finding the Cause of the Peeling
Paint usually peels because something underneath it has changed. Water may be entering through a failed sealant joint, blocked gutter, cracked flashing, or exposed end grain on timber. On older homes, the issue can also be poor adhesion between incompatible coatings, insufficient cleaning before the last paint job, or painting a damp surface.
Look closely at where the failure is concentrated. Peeling around windows, fascia boards, and eaves often points to moisture. Paint lifting in broad sheets on sunny walls may suggest surface contamination, poor preparation, or an unsuitable previous coating. If paint is bubbling, check whether there is dampness behind it before reaching for a scraper.
Address leaks and drainage issues before painting. Repair damaged timber, replace deteriorated sealant, and make sure gutters and downpipes are doing their job. Paint cannot permanently seal a problem that is allowing water into the structure.
Check Whether the Surface Is Safe to Prepare
If the home was built before the late 1970s or you do not know the age of the existing paint, treat it with care. Older coatings may contain lead. Dry sanding or power sanding lead paint can create hazardous dust, particularly around families, pets, and neighboring properties.
A professional assessment is the sensible option if lead is possible, if peeling is widespread, or if the paint is failing on high or difficult-to-reach areas. The same applies where rot, persistent mold, or major cracks are visible. A quality exterior painting project starts with a safe, stable surface, not a rushed cover-up.
How to Repaint Peeling Exterior Paint Step by Step
Choose a dry, workable weather window
Exterior painting needs the right conditions. Plan the work for a dry period, avoiding rain, heavy dew, strong winds, and extreme heat. Surfaces should be dry before preparation begins and remain dry through priming and painting.
Check the paint manufacturer’s temperature range as well. Paint applied to a wall that is too hot can dry too quickly and fail to bond correctly. On a sunny elevation, working earlier in the day or following the shade around the house can make a noticeable difference.
Wash away salt, chalk, mildew, and dirt
A clean surface is essential for adhesion. Wash the exterior with a suitable exterior cleaner and rinse thoroughly. In coastal locations, this step is especially important because salt residue can remain on walls and trim even when it is not obvious.
Use a mildewcide where needed, following the product directions. Do not paint over mildew or chalky residue. If you run a hand over the wall and it comes away dusty, the surface needs further cleaning and possibly a binding primer before topcoats are applied.
Pressure washing can help on appropriate masonry and sturdy exterior surfaces, but it needs restraint. Excessive pressure can force water behind cladding, damage soft timber, and worsen loose paint. Allow adequate drying time after washing, particularly around joins and trim.
Remove all loose and failing paint
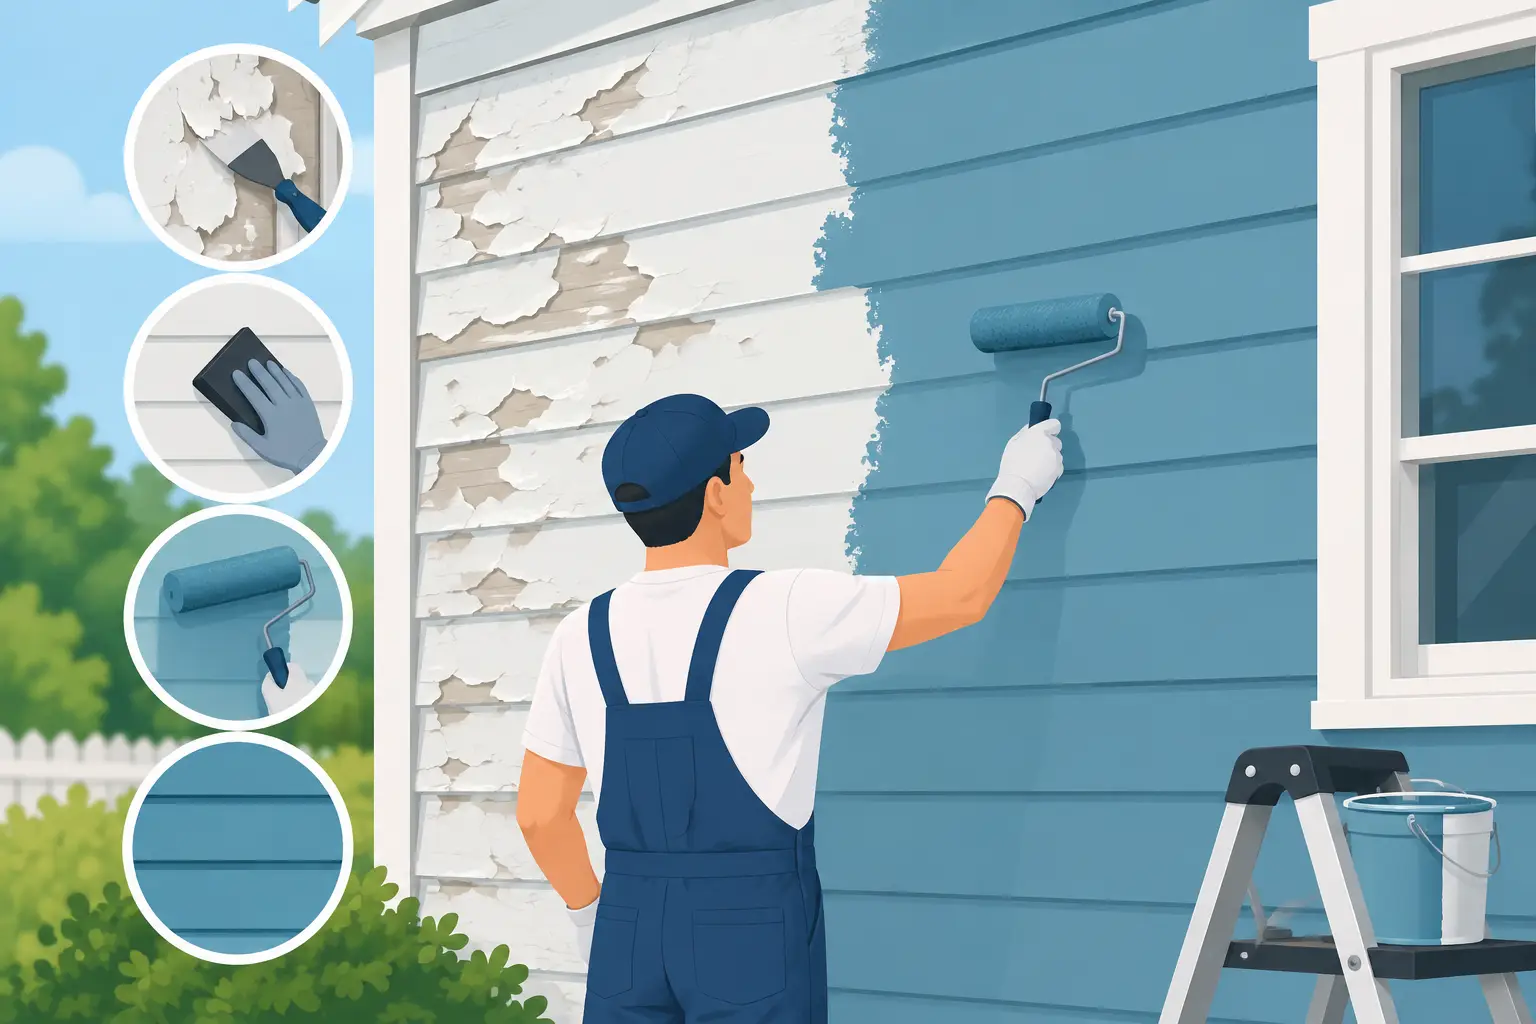
Scrape paint that is peeling, curling, blistered, or poorly bonded until you reach a firm edge. A sharp scraper is more effective than forcing a blunt tool across the surface. The goal is not always to remove every layer of old paint, but to remove every layer that is no longer sound.
Feather the edges of the remaining paint with sandpaper so there is no obvious ridge between bare areas and coated areas. This helps the repaired section disappear under the new finish and reduces the chance of a visible patch in strong afternoon light.
Collect paint debris as you work and keep the site tidy. Exterior preparation can be messy, but it should not leave chips in garden beds, on paths, or around entryways.
Repair the substrate, not just the coating
Inspect the exposed areas once the loose paint is removed. Timber with soft, darkened, or crumbling sections may need repair or replacement rather than filler alone. Small nail holes, minor cracks, and shallow imperfections can be filled with a flexible exterior-grade filler after the surface is clean and dry.
Caulk open gaps around trim, windows, and siding with a paintable exterior sealant. Leave drainage paths and weep holes clear. Sealant has an important role, but it should not be used to trap water where the building is designed to release it.
For masonry, repair cracks with a compatible exterior repair compound and allow it to cure fully. New repair materials are often more porous than the surrounding surface, which is one reason primer matters.
Prime bare spots and problem surfaces
Primer creates the bridge between the prepared surface and the finish coat. Bare timber, metal, patched areas, stained surfaces, and chalky masonry all benefit from the correct primer. The best choice depends on the material and the existing coating, so read the label carefully rather than assuming one product suits every exterior surface.
For example, exposed timber needs a primer that seals and protects the grain, while rusted metal may require a rust-inhibiting product after corrosion has been removed. If the old finish is glossy or the surface has a history of adhesion problems, a bonding primer can be the safer choice.
Spot priming may be enough for isolated repairs. When peeling is widespread, the surface is heavily chalked, or the old coating is uncertain, a full prime coat can deliver a more even and durable result. It costs more time upfront, but it can prevent uneven sheen and premature failure.
Apply two quality exterior coats
Once the primer has dried for the recommended period, apply a high-quality exterior paint suited to the substrate and local conditions. Two finish coats generally provide better color consistency, film thickness, and protection than one heavy coat.
Use a brush for edges, joins, and detailed trim, then roll larger flat areas with the correct nap roller. Keep a wet edge where possible to avoid lap marks. Apply paint evenly rather than trying to stretch it too far. Thin coverage can leave a finish vulnerable, while overly heavy application can lead to sagging and slow curing.
Allow the required drying time between coats. Dry to the touch does not always mean ready for another coat. Rushing this stage can trap moisture or reduce adhesion between layers.
Common Mistakes That Cause Paint to Peel Again
The most common mistake is painting over loose material because it seems faster. Another is skipping primer on bare patches, especially timber and repaired areas. Both can leave the new coating dependent on an unstable surface.
Weather is another frequent problem. A wall may feel dry on the face while moisture remains behind the paint or within the timber. Painting too close to rain, after heavy washing, or during very humid conditions can compromise the finish before it has cured.
Finally, avoid mixing products without checking compatibility. A premium topcoat cannot compensate for a primer that is unsuitable for the surface, or for old paint that has not been properly cleaned and sanded.
When It Makes Sense to Call a Professional
A small area of peeling trim can be a manageable weekend repair. Larger failures are different, particularly on multi-story homes, weather-exposed elevations, heritage surfaces, or properties with persistent moisture issues. The preparation often takes longer than the painting itself, and it is the preparation that determines how long the result will last.
Professional painters bring the tools, product knowledge, access equipment, and disciplined process needed to handle those variables. At Sharp Painting Services, that process includes inspecting the cause of failure, protecting surrounding areas, completing repairs, and applying coatings selected for the surface and conditions.
A well-prepared exterior does more than look freshly painted. It gives the next coat a sound foundation and gives your home the protection it needs through the seasons.