
A freshly painted apartment can make a compact room feel lighter, cleaner, and more valuable, but the result depends on much more than choosing a wall color. This apartment repainting guide covers the decisions that protect your belongings, keep disruption low, and produce a finish that still looks sharp after everyday living.
Whether you are preparing a rental between tenants, refreshing a tired unit before sale, or updating the apartment you call home, professional planning prevents the common frustrations: paint odor lingering for days, scuffed floors, patchy walls, missed repairs, and a project that runs past the expected completion date.
Start With the Scope, Not the Paint Color
The most successful apartment repainting projects begin with a clear look at what needs attention. A full interior repaint may include walls, ceilings, doors, trim, wardrobes, and window frames. In other cases, repainting the living area, hallway, and bedrooms delivers the visible improvement you want without taking on every surface.
Walk through the apartment in daylight and note stains, dents, nail holes, cracking around cornices, peeling paint, water marks, and areas that receive heavy wear. Entryways, corridors, kitchens, and rental properties often need more careful preparation than less-used rooms. A clean wall can still show poor workmanship if surface repairs have been rushed.
It also helps to decide what stays in place. Large furniture can usually be moved to the center of the room and carefully covered, while delicate artwork, electronics, and smaller items are best removed before work begins. A professional painter should explain how floors, furnishings, fixtures, and adjacent surfaces will be protected before painting starts.
Check Building Rules and Access Early
Apartment painting has practical constraints that do not always apply to a standalone home. Your building manager, homeowners association, or strata representative may have rules about work hours, elevator use, loading zones, contractor access, noise, and disposal of materials.
Confirm these details before setting a start date. If the apartment is in a high-rise building or has limited parking, painters may need extra time to transport equipment and materials safely. Booking elevator access can avoid delays, particularly in busy buildings where several trades or move-ins are scheduled.
For landlords and property managers, timing matters just as much as access. Painting between tenancies can help reduce vacancy periods, but only when the scope, repairs, drying time, and final inspection are properly coordinated. A transparent quote and a realistic schedule are more useful than a low estimate that leaves key preparation work unclear.
Choose Colors That Suit the Apartment
Color selection is personal, but it should also work with the apartment’s natural light, room size, flooring, cabinetry, and intended use. Bright white walls can feel crisp in a well-lit apartment, yet a softer off-white may be more forgiving in rooms with limited daylight. Warm neutrals often create a comfortable, cohesive backdrop for timber floors and varied furnishings.
For apartments being prepared for sale or lease, restrained colors usually give prospective buyers and tenants more room to imagine their own furniture in the space. That does not mean every room must be plain. A considered feature wall can add depth to a bedroom or living room, provided it supports the overall palette rather than competing with it.
Always view paint samples on the actual walls. Morning sun, afternoon shade, artificial light, and reflected color from nearby buildings can make the same sample look quite different throughout the day. In coastal areas such as Sydney’s Northern Beaches, bright reflected light can make cool whites appear sharper than expected.
Keep Connected Spaces Consistent
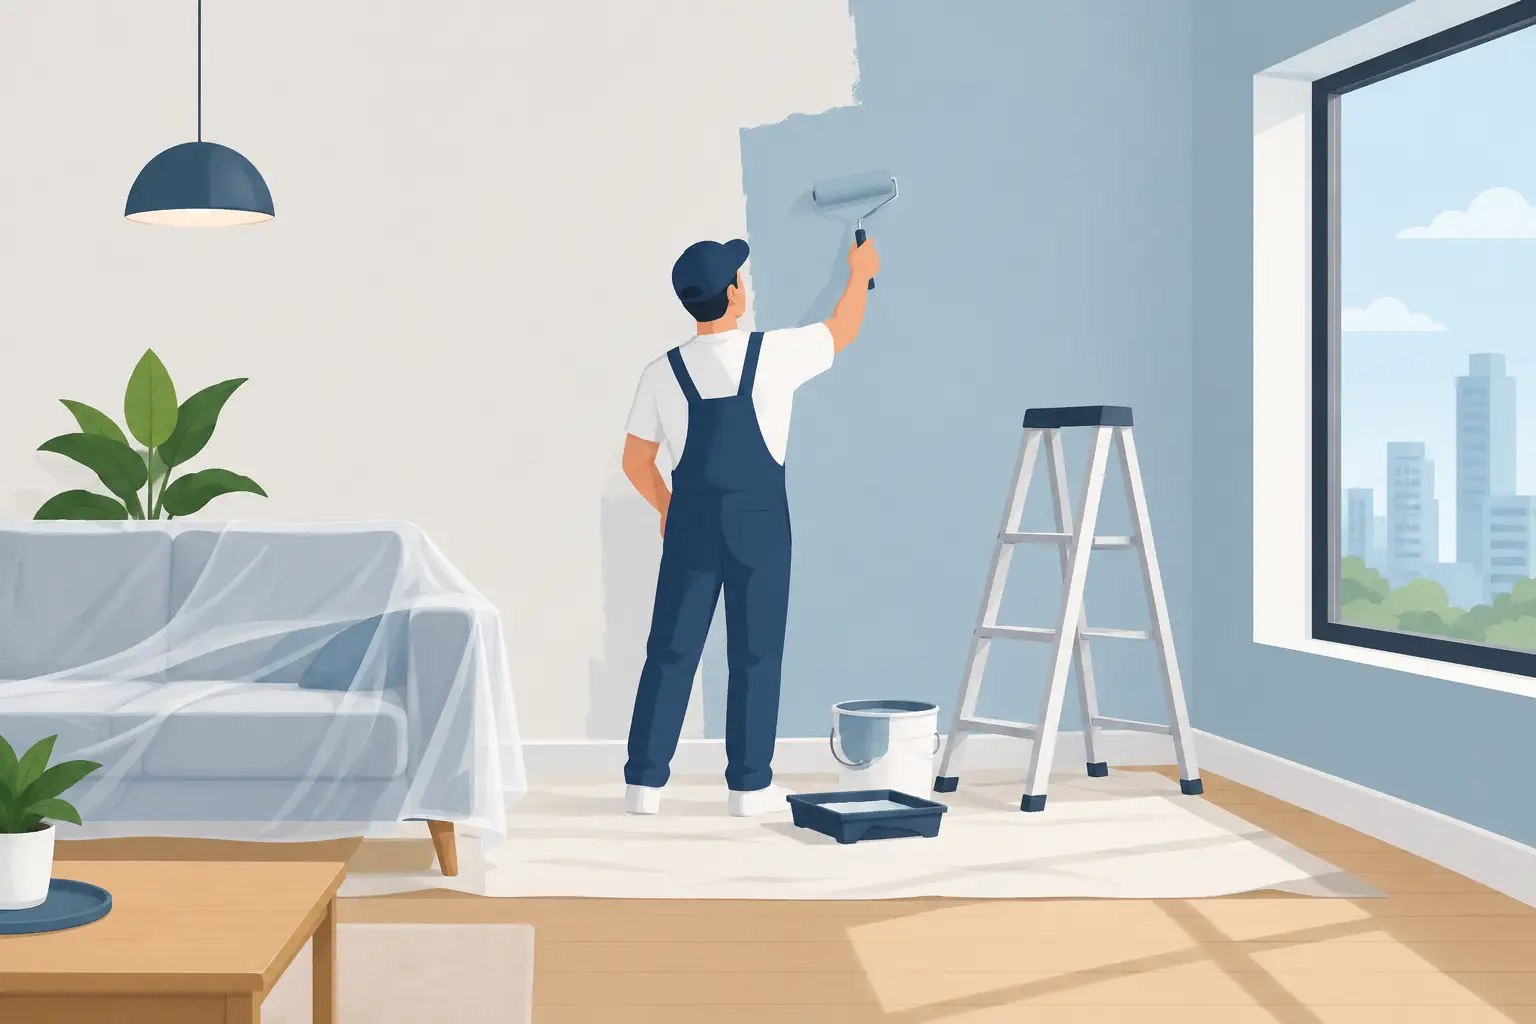
Open-plan apartments benefit from a simple color flow. Using one main wall color across the living area, hallways, and connecting spaces creates visual continuity and can make the layout feel more generous. You can introduce contrast through trim, doors, cabinetry, or a feature wall rather than changing colors from room to room.
Select the Right Finish for Each Surface
Paint sheen affects both appearance and durability. Flat or matte finishes reduce the visibility of minor wall imperfections and create a refined look, making them a popular choice for living rooms and bedrooms. The trade-off is that some matte paints can be less resistant to scrubbing, so product quality matters in high-traffic areas.
Eggshell and low-sheen finishes offer a modest amount of washability while keeping glare low. They are often a practical option for hallways, dining areas, and family living spaces. Satin or semi-gloss finishes are generally better suited to trim, doors, and other surfaces that need regular cleaning.
Ceilings usually call for a flat ceiling paint that helps conceal small irregularities and reduces reflected light. Kitchens, bathrooms, and laundries require careful product selection because moisture, steam, and cleaning demands are higher. A quality washable finish, combined with proper treatment of any mold or moisture issue, will perform better than applying standard wall paint over the problem.
Preparation Is Where a Lasting Finish Begins
The visible transformation happens when the final coats go on, but the quality of the finish is decided much earlier. Proper preparation starts with cleaning surfaces to remove dust, grease, and residue. Kitchen walls, around light switches, and areas near air vents often need more attention than they first appear to.
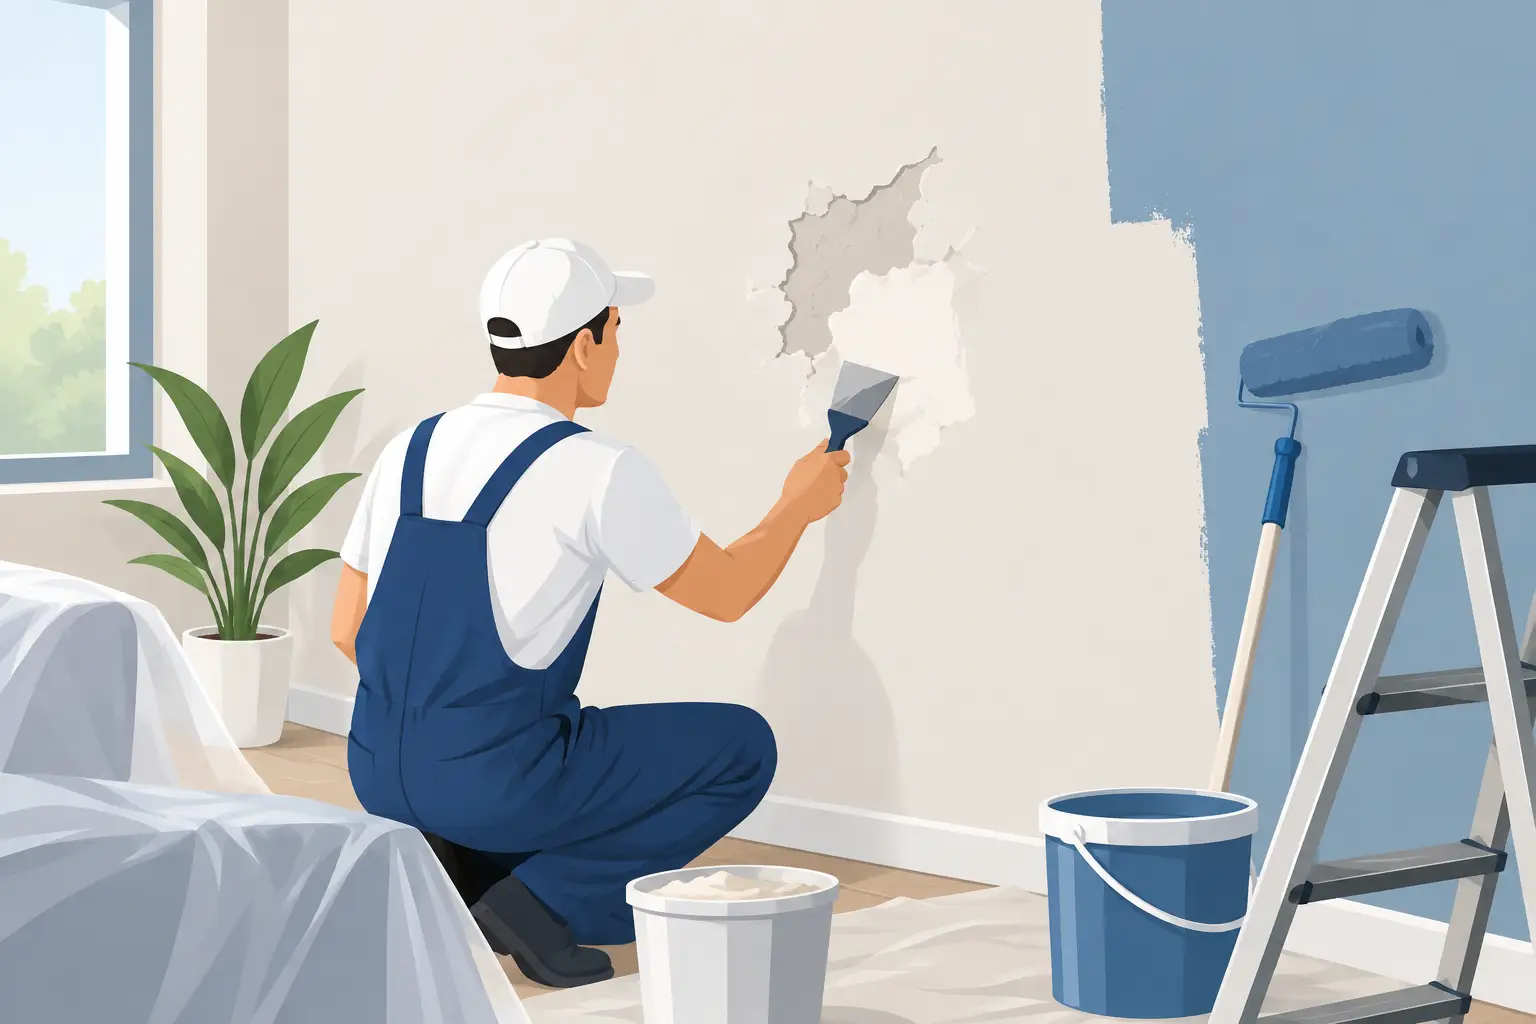
Next comes repair work. Nail holes, dents, cracks, loose paint, and gaps around trim should be filled, sanded, and primed as needed. Water stains require investigation before repainting. Painting over an active leak or unresolved moisture issue may hide the mark temporarily, but it will not solve the cause.
A careful painter will also protect floors, cabinets, windows, appliances, and furniture before beginning. Masking is not a substitute for skill, but it is an essential part of maintaining a clean work site. Sharp paint lines, smooth repaired areas, and clean edges around fixtures are details people notice every day after the project is complete.
Do Not Skip Primer When Conditions Call for It
Primer is not necessary on every sound, previously painted surface, but it is valuable when moving from a dark color to a light one, covering stains, repairing patches, or painting bare plaster and new drywall. It creates a more even base, improves adhesion, and can reduce the risk of uneven sheen after the topcoat dries.
This is one area where an upfront assessment makes a real difference. The right preparation system may add time to the job, but it can prevent the need for premature touch-ups or repainting.
Plan for a Clean, Low-Disruption Project
Painting an occupied apartment requires respectful coordination. Discuss which rooms need to remain usable, where painters can store materials, when access is available, and whether pets or children need special consideration. If you work from home, schedule noisy sanding or room-by-room work around calls where possible.
Ventilation also deserves planning. Open windows can help reduce odor and support drying when weather permits, but they are not always practical in humid conditions or secure apartment buildings. Quality low-odor paints can improve the experience, though every paint system still needs appropriate drying and curing time.
A professional team should arrive when agreed, communicate if conditions change, keep the workspace orderly, and remove coverings and waste at the end of the project. Final cleanup is not an optional extra. It is part of handing back an apartment that feels ready to enjoy, lease, or present to buyers.
Inspect Before the Team Leaves
A final walkthrough should happen after the paint has dried sufficiently for the finish to be assessed. Look at walls from different angles and in natural and artificial light. Check repaired areas, corners, edges around doors and windows, trim lines, ceilings, and any surfaces that were specifically included in the quote.
Small touch-ups are normal in a detailed painting project, especially after furniture is returned or masking is removed. Raise questions during the walkthrough rather than assuming they will be addressed later. Clear communication at this stage helps ensure the finished apartment meets the expected standard.
For apartment owners across Manly, Mona Vale, Dee Why, and surrounding Northern Beaches suburbs, Sharp Painting Services approaches repainting with detailed preparation, clear pricing, careful protection, and a clean final handover. The goal is not simply a new color on the wall, but an apartment that looks cared for from the moment you walk through the door.
A well-planned repaint is one of the few property improvements you can see in every room. Give the preparation, product selection, and final inspection the same attention as the color choice, and the finished space will feel polished long after the paint has dried.